Featured Article
CardiaGTech helps US readers understand LED lighting, smart lights, home lighting ideas, outdoor lighting, and energy-saving lighting choices with clear, practical guides.
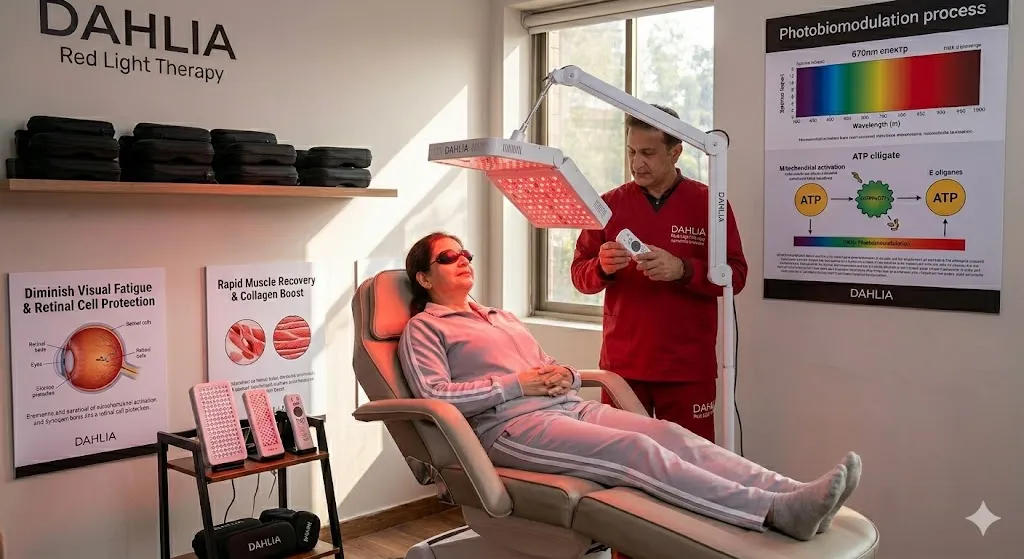
Dahlia Red Light Therapy Guide
Ultimate guide to skin rejuvenation & healing with red light therapy.
Read Guide →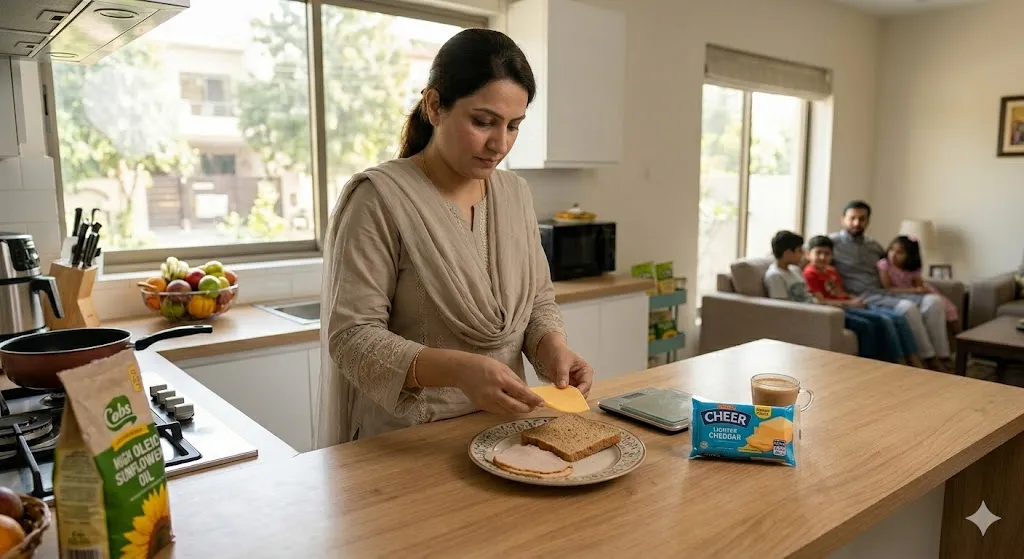
Coon Light Cheese Nutrition
Calories, benefits & full nutritional breakdown explained.
Read Guide →
Cobs Light Popcorn Nutrition
Healthy snack guide with complete nutrition facts.
Read Guide →