The 1974 Ford F250 brake light warning switch is a crucial safety component, ensuring your brake lights illuminate when you press the pedal. A malfunctioning switch can lead to dangerous driving situations, so understanding how to troubleshoot and replace it is essential. This guide will walk you through diagnosing, testing, and potentially replacing the brake light warning switch in your classic F250.
Understanding the Brake Light Warning Switch Function
The brake light warning switch is a small, but vital part of your F250’s braking system. Its primary purpose is to activate the brake lights when the brake pedal is depressed. This alerts drivers behind you that you’re slowing down or stopping. Secondly, it plays a role in activating the brake warning light on the dashboard, indicating a potential issue with the braking system itself, such as low brake fluid. A faulty 1974 Ford F250 brake light warning switch can lead to various problems, from non-functional brake lights to a constantly illuminated brake warning light.
Diagnosing a Faulty 1974 Ford F250 Brake Light Warning Switch
Several signs can indicate a problem with your brake light warning switch. The most obvious is if your brake lights don’t turn on when you press the brake pedal. Another symptom could be a brake warning light that stays on even when the brake fluid level is adequate. A third, less common, issue is a brake warning light that flickers intermittently.
Checking the Brake Lights
The first step in diagnosing a faulty switch is to check your brake lights. Have a friend or family member stand behind your truck while you press the brake pedal. If the lights don’t illuminate, the problem could lie with the switch, a blown fuse, or a wiring issue.
Inspecting the Brake Light Warning Switch
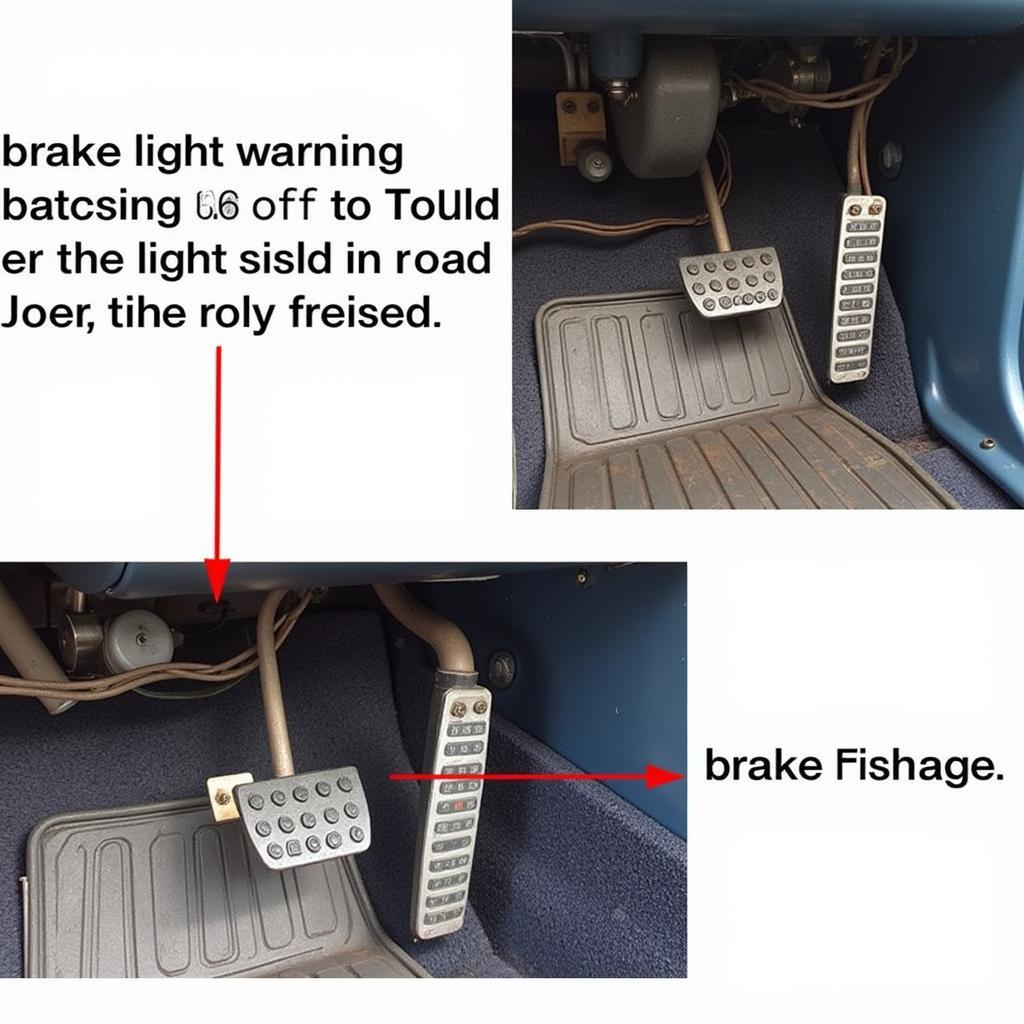
The brake light warning switch is typically located under the dashboard, near the brake pedal linkage. You’ll likely need to contort yourself a bit to get a good look at it. Visually inspect the switch for any signs of damage, such as cracks, loose connections, or corrosion.
 Locating the 1974 Ford F250 Brake Light Warning Switch
Testing the Brake Light Warning Switch with a Multimeter
A multimeter can help you definitively determine if the switch is faulty. With the ignition off, disconnect the electrical connector from the switch. Set your multimeter to the ohms setting and touch the probes to the switch terminals. Press the brake pedal. If the resistance changes, the switch is likely working. If the resistance remains the same, the switch needs replacing.
Replacing the 1974 Ford F250 Brake Light Warning Switch
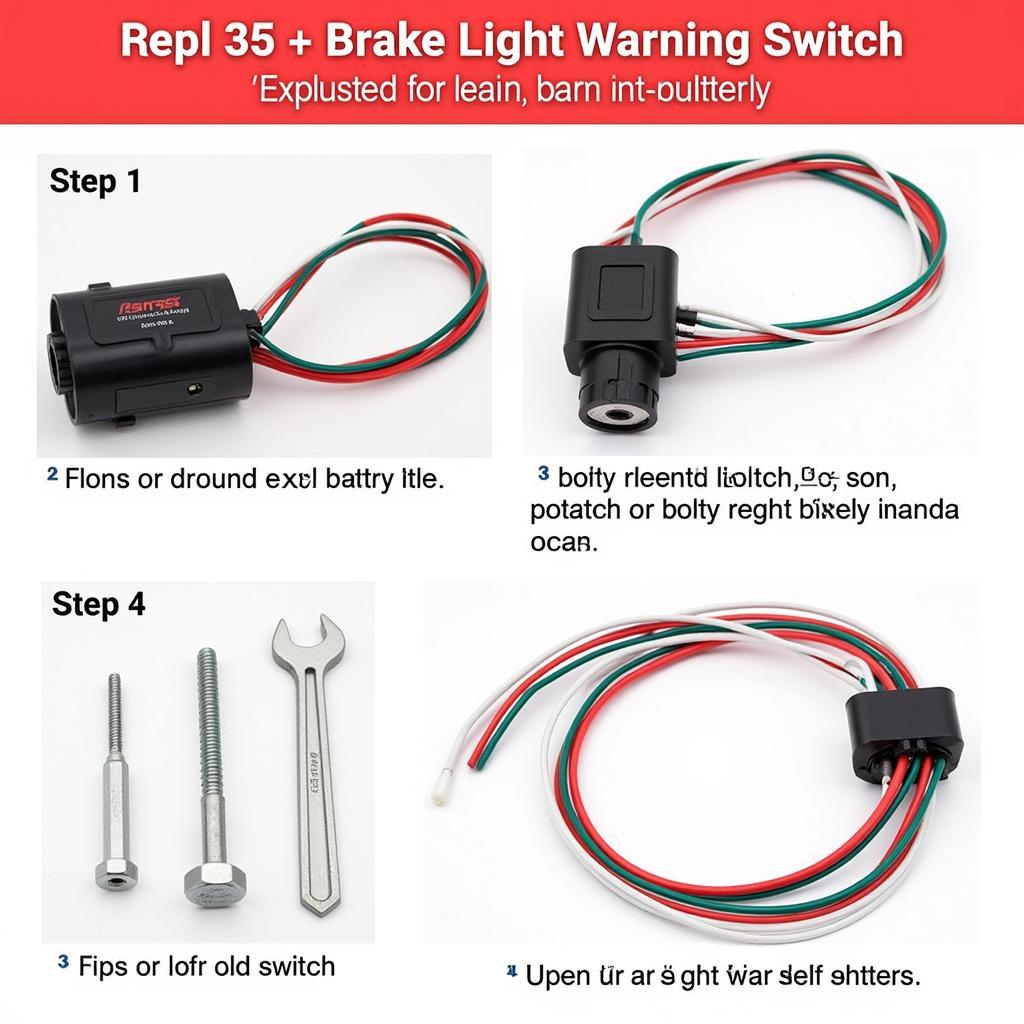
Replacing the switch is a relatively straightforward process. First, disconnect the negative battery cable. Then, locate and disconnect the electrical connector from the old switch. Unscrew or unclip the old switch from its mounting bracket. Install the new switch in reverse order, ensuring all connections are secure. Finally, reconnect the negative battery cable and test the brake lights.
 Replacing the 1974 Ford F250 Brake Light Warning Switch
“Remember to always disconnect the battery before working on any electrical components in your vehicle,” advises John Miller, a seasoned automotive electrician with over 30 years of experience. “Safety should always be your top priority.”
Conclusion
Addressing a faulty 1974 Ford F250 brake light warning switch is vital for your safety and the safety of other drivers. By following the steps outlined in this guide, you can diagnose and replace the switch yourself, saving time and money. Don’t delay in fixing this crucial component. “A functioning brake light warning switch is a small part with a big responsibility,” adds Miller. “It’s a critical link in communicating your intentions to other drivers on the road.” Ensure yours is working correctly and drive with confidence.
“Regular maintenance and timely repairs are essential for the longevity and reliability of your classic F250,” concludes John Miller.


