When your car radio wiring harness wires don’t match, the excitement of a new stereo quickly turns into frustration. This guide provides expert advice on diagnosing and fixing this common car audio installation problem, offering solutions for both DIY enthusiasts and those considering professional help.
Understanding the Car Radio Wiring Harness Mismatch
A car radio wiring harness is the bridge between your car’s electrical system and your aftermarket radio. It’s a bundle of wires, each with a specific function, connecting power, speakers, and other features. When the wires on your car’s harness don’t match the wires on the new radio’s harness, it means the connections aren’t standardized. This can be due to variations between car manufacturers, different model years, or even different trim levels within the same model. Ignoring this mismatch can lead to a non-functioning radio, blown fuses, or even damage to your car’s electrical system.
Diagnosing the Wiring Discrepancy
Before you start cutting and splicing wires, proper diagnosis is crucial. First, identify the wires on both harnesses. Use a wiring diagram specific to your car’s make, model, and year. These diagrams can often be found online or in your car’s service manual. Compare the car’s wiring diagram to the wiring diagram that came with your new radio. Note the functions of each wire (power, ground, speaker, antenna, etc.) and their corresponding colors. This will help you determine which wires need to be connected.
Using a Multimeter for Accurate Identification
A multimeter is a valuable tool for identifying wires when color codes are unreliable or missing. By checking the voltage and continuity of each wire, you can confirm its function. For example, the constant 12V power wire should show 12V even with the key off. The accessory power wire should only show 12V with the key in the accessory or on position.
Solutions for Mismatched Wiring
Several options are available to resolve car radio wiring harness mismatches, ranging from simple plug-and-play solutions to more involved DIY approaches.
Wiring Harness Adapters: The Easy Fix
Often, a pre-made wiring harness adapter is available for your specific car and radio combination. These adapters are designed to bridge the gap between the mismatched harnesses, allowing for a straightforward plug-and-play installation. This is the easiest and safest option, eliminating the need for cutting or splicing wires.
Soldering and Heat Shrink Tubing: The DIY Approach
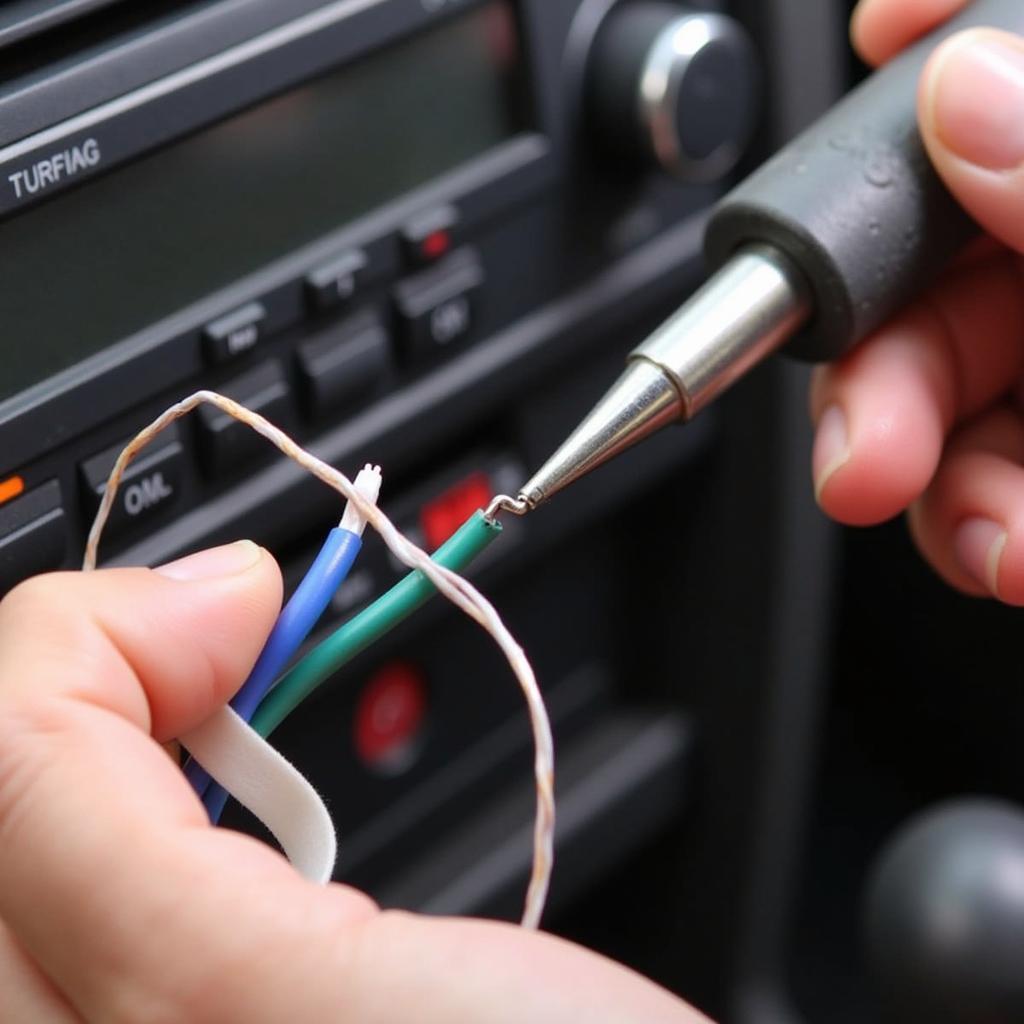
If an adapter isn’t available, you can manually connect the wires. This involves carefully matching the wires based on their functions, soldering them together, and then covering the connections with heat shrink tubing for insulation and protection. This method requires basic soldering skills and careful attention to detail to avoid short circuits.
Professional Installation: The Expert Option
If you’re not comfortable working with car wiring, professional installation is always a good option. A qualified car audio technician has the experience and tools to handle any wiring challenges and ensure a safe and reliable installation.
Avoiding Common Wiring Mistakes
- Double-check your wiring diagram: Always verify the wire functions and colors before making any connections.
- Use the correct gauge wire: Using wire that’s too thin can lead to overheating and potential fire hazards.
- Properly insulate all connections: Use heat shrink tubing or electrical tape to prevent shorts and protect against corrosion.
“Accurate wiring is paramount for a successful car audio installation. A simple mistake can lead to costly repairs,” says John Miller, a certified car audio technician with over 20 years of experience. “When in doubt, consult a professional.”
 Soldering Car Radio Wiring Harness Wires
Conclusion
Dealing with mismatched car radio wiring harness wires can seem daunting, but with the right approach, it’s a manageable task. Whether you choose a plug-and-play adapter, take the DIY soldering route, or opt for professional help, understanding the wiring is key to a successful car audio upgrade. By following the steps outlined in this guide, you can enjoy your new car radio without the headache of wiring woes. Don’t let a mismatched car radio wiring harness stand between you and your favorite tunes.
FAQ
- Where can I find a wiring diagram for my car? Check your car’s service manual or search online using your car’s make, model, and year.
- What is the best way to connect the wires? Soldering provides the most secure and reliable connection.
- What should I do if I’m not comfortable soldering? Consider using a wiring harness adapter or seeking professional installation.
- How can I identify a constant 12V power wire? Use a multimeter to check the voltage with the key off. It should read 12V.
- What is the purpose of a wiring harness adapter? It allows for a plug-and-play connection between mismatched car radio harnesses.
- What can happen if I connect the wires incorrectly? You could blow fuses, damage your radio, or even harm your car’s electrical system.
- How much does professional car radio installation typically cost? The cost varies depending on the complexity of the installation and the installer’s rates.


