Understanding Chinese car radio wiring can feel like navigating a maze, especially if you’re tackling an aftermarket installation or troubleshooting a malfunction. This guide unravels the complexities of these systems, offering clear and practical advice for DIY enthusiasts and seasoned mechanics alike.
Common Chinese Car Radio Wiring Challenges
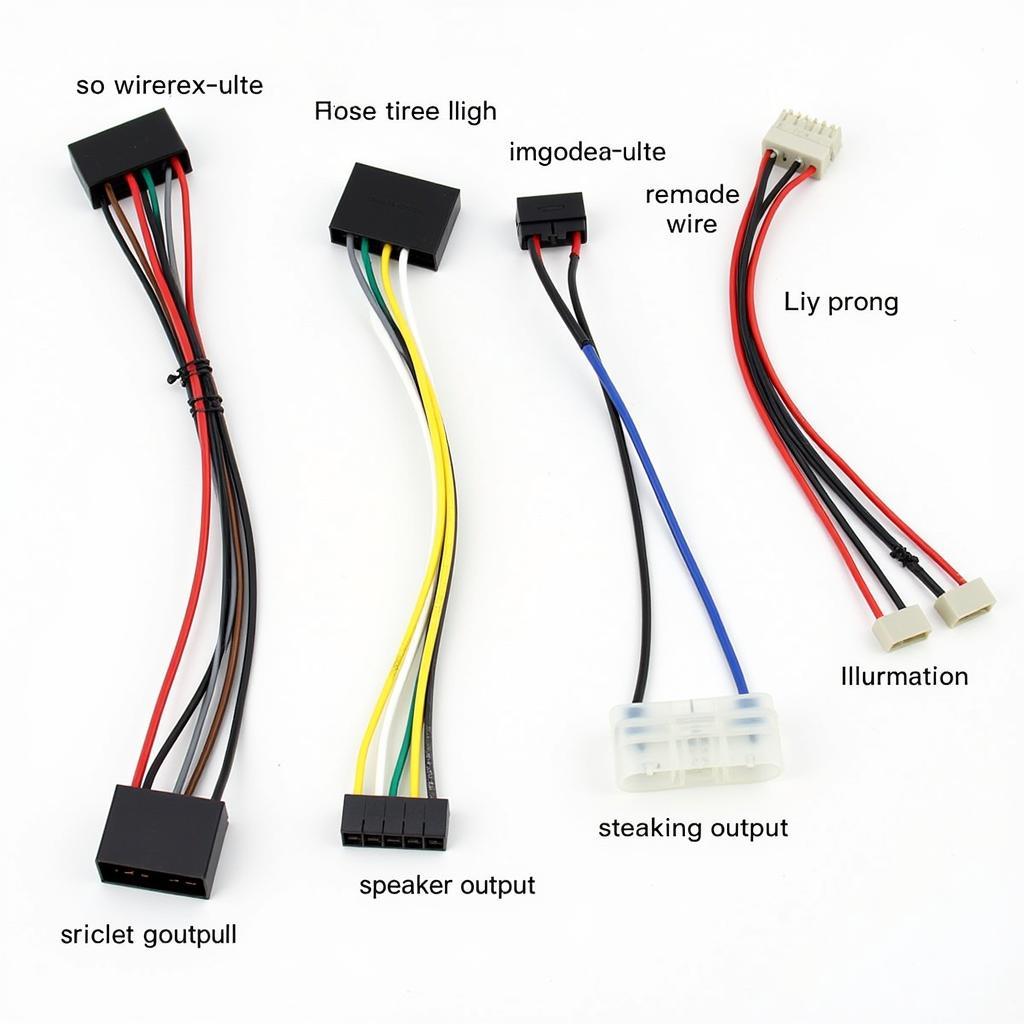
One of the most common issues with Chinese car radios is the lack of standardized wiring. Unlike many established car manufacturers, wiring colors and configurations can vary significantly between different Chinese car radio models and even between units from the same manufacturer. This can lead to confusion and frustration during installation and troubleshooting.  Different Chinese Car Radio Wiring Harnesses Another frequent problem is poorly translated or incomplete documentation. Often, the provided wiring diagrams are unclear, use incorrect terminology, or simply don’t match the actual wiring of the unit. This can make identifying the correct connections a real headache.
Navigating the Wiring Diagram Maze
Before diving into your car’s wiring, carefully examine the wiring diagram that came with your Chinese car radio. Even if the diagram seems confusing, it’s your starting point. Look for key identifiers like wire colors, pin locations on the connectors, and abbreviations for functions like ACC (accessory), ILL (illumination), and GND (ground). If the diagram is illegible or missing, try searching online using your radio’s model number. You might find a clearer version on forums, manufacturer websites, or even user manuals for similar models.
Essential Tools for the Job
Having the right tools makes the wiring process significantly smoother. You’ll need a multimeter to test for voltage and continuity, wire strippers and crimpers for making connections, a set of screwdrivers for removing panels and securing the radio, and electrical tape or heat shrink tubing for insulating connections. Don’t forget a good light source to illuminate the often cramped spaces behind the dashboard.
Step-by-Step Wiring Guide
- Disconnect the battery: This is crucial for safety. Disconnect the negative terminal first.
- Remove the old radio: Carefully remove the trim panels and unscrew the old radio from its mounting bracket.
- Identify the power wires: Locate the constant 12V power wire (usually yellow), the accessory wire (usually red), and the ground wire (usually black).
- Connect the speaker wires: Match the speaker wires from the radio to the corresponding wires in your car’s harness. Pay attention to polarity to ensure proper speaker phase.
- Connect the antenna: Connect the antenna cable to the radio’s antenna input.
- Test the connections: Before fully reassembling the dashboard, reconnect the battery and test the radio’s functionality. Check that the radio turns on, the speakers work correctly, and the illumination dims with the headlights.
- Reassemble the dashboard: Once everything is working correctly, carefully reassemble the dashboard and secure the new radio.
Troubleshooting Common Wiring Problems
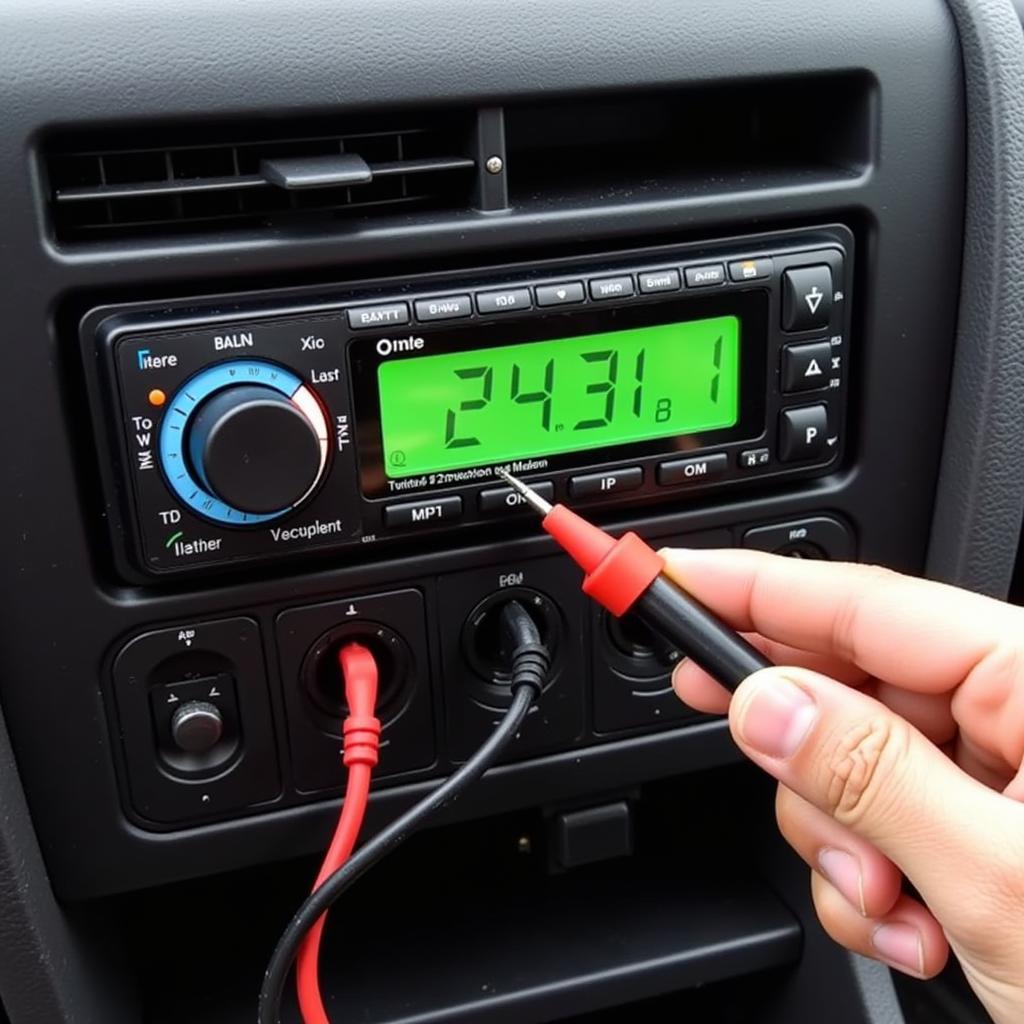
If you encounter problems, a multimeter is your best friend. Use it to check for continuity in the speaker wires and voltage on the power wires. Remember, a common issue is incorrect wiring of the constant and accessory power wires. If the radio only works when the ignition is on, these wires might be swapped.  Testing Car Radio Wiring with a Multimeter
Seeking Professional Help
If you’re still struggling, don’t hesitate to seek professional assistance. A qualified car audio technician can diagnose and resolve complex wiring issues quickly and efficiently. While DIY can be rewarding, sometimes it’s best to leave it to the experts.
“Correctly identifying the constant and accessory power wires is crucial for preventing battery drain and ensuring the radio functions as intended,” says John Smith, Senior Automotive Electrician at AutoTech Solutions. “A simple mistake here can lead to a dead battery or a radio that won’t turn off.”
“Don’t underestimate the importance of proper grounding,” adds Jane Doe, Lead Technician at CarAudio Masters. “A poor ground connection can cause noise, static, and other audio issues.”
In conclusion, while dealing with Chinese car radio wiring can be challenging, armed with the right knowledge, tools, and patience, you can successfully install or troubleshoot your radio. Remember to carefully analyze the wiring diagram, test your connections, and don’t hesitate to seek expert help when needed. Understanding these intricacies of Chinese car radio wiring empowers you to take control of your car’s audio system and enjoy the ride.
FAQ
- Why is my Chinese car radio not turning on? This could be due to incorrect wiring of the power wires, a blown fuse, or a faulty radio unit.
- Why is there static coming from my speakers? Static is often caused by a poor ground connection or interference from other electrical components in the car.
- Where can I find a wiring diagram for my Chinese car radio? Check the documentation that came with the radio, the manufacturer’s website, or online forums related to car audio.
- What tools do I need to install a Chinese car radio? Essential tools include a multimeter, wire strippers, crimpers, screwdrivers, electrical tape or heat shrink tubing, and a good light source.
- Can I install a Chinese car radio myself? Yes, with careful planning and the right tools, many people successfully install their own car radios.
- What should I do if I can’t figure out the wiring? If you’re struggling, don’t hesitate to consult a qualified car audio technician.
- Are all Chinese car radio wiring harnesses the same? No, there’s a lack of standardization, so wiring colors and configurations can vary significantly.


