The brake pad warning light on your Discovery 3 is a crucial safety feature, alerting you when your brake pads are worn and need replacing. While this light is essential, knowing how to reset it after changing your brake pads is equally important. This comprehensive guide will walk you through the process of resetting the Discovery 3 brake pad warning light and address common related questions.
Understanding the Discovery 3 Brake Pad Warning System
Your Discovery 3 utilizes an electronic sensor within the brake pad assembly to monitor pad wear. This sensor triggers the brake pad warning light on your dashboard when the pad material wears down to a predetermined level. Ignoring this warning can lead to further damage to your braking system and compromise your safety.
Why Resetting the Warning Light is Important
After replacing your brake pads, resetting the warning light is crucial for several reasons:
- Accurate Monitoring: Resetting the system allows it to accurately monitor the new brake pads and provide timely warnings in the future.
- System Functionality: Failure to reset the light can lead to inaccurate readings and potential malfunctioning of the brake pad warning system.
- Peace of Mind: Resetting the light provides peace of mind, assuring you that the system is operational and monitoring your new brake pads effectively.
Step-by-Step Guide to Resetting the Brake Pad Warning Light
Resetting the brake pad warning light on your Discovery 3 is a straightforward process that you can often do yourself:
- Gather the Necessary Tools: You’ll typically need a basic OBD2 scanner tool, which you can purchase online or at most auto parts stores.
- Locate the OBD2 Port: The OBD2 port is usually located under the dashboard on the driver’s side.
- Connect the OBD2 Scanner: Turn off your ignition and connect the OBD2 scanner to the port.
- Turn on the Ignition: Turn the ignition to the “on” position but don’t start the engine.
- Access the Brake Pad Warning System: Using the scanner’s menu, navigate to the “Brake Pad Warning System” or a similar option.
- Select “Reset” or “Clear Codes”: Choose the option to reset or clear the brake pad warning light code.
- Confirm the Reset: Follow the scanner’s prompts to confirm the reset.
- Disconnect the Scanner: Once the reset is complete, disconnect the OBD2 scanner.
- Verify the Reset: Start your Discovery 3 and check if the brake pad warning light is off.
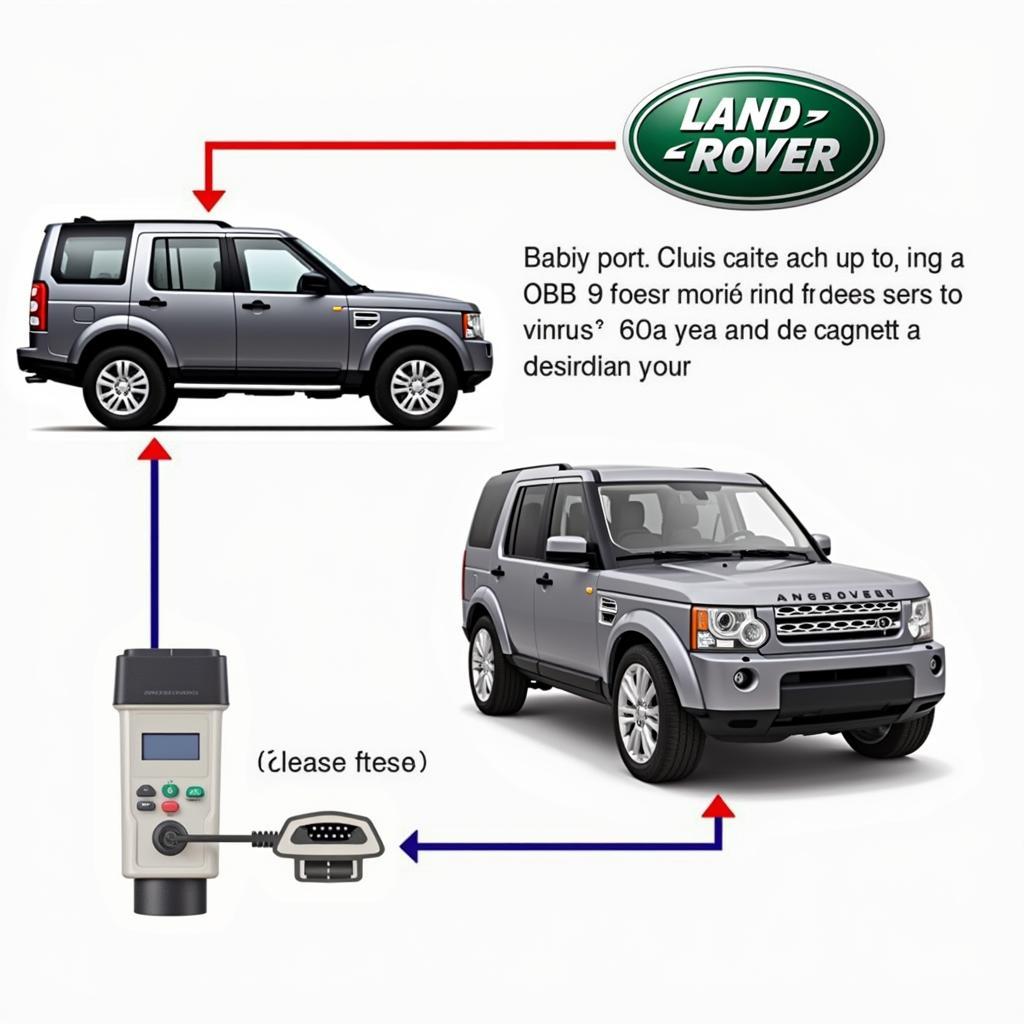
 Connecting an OBD2 Scanner to a Land Rover Discovery 3
What If the Light Doesn’t Reset?
If the brake pad warning light remains on after attempting the reset, there are a few possibilities:
- Sensor Issue: The brake pad wear sensor might be faulty or improperly installed.
- Wiring Problem: There could be a wiring issue between the sensor and the warning light system.
- Other Brake Issues: In some cases, the warning light may indicate other brake problems unrelated to the pads.
If the light persists, it’s recommended to consult a qualified mechanic or Land Rover specialist to diagnose and rectify the issue.
Tips for Maintaining Your Brakes
- Regular Inspections: Schedule routine brake inspections to monitor pad wear and overall brake health.
- Quality Brake Pads: Use high-quality brake pads from reputable brands for optimal performance and longevity.
- Avoid Hard Braking: Anticipate stops and avoid harsh braking whenever possible to minimize wear and tear.
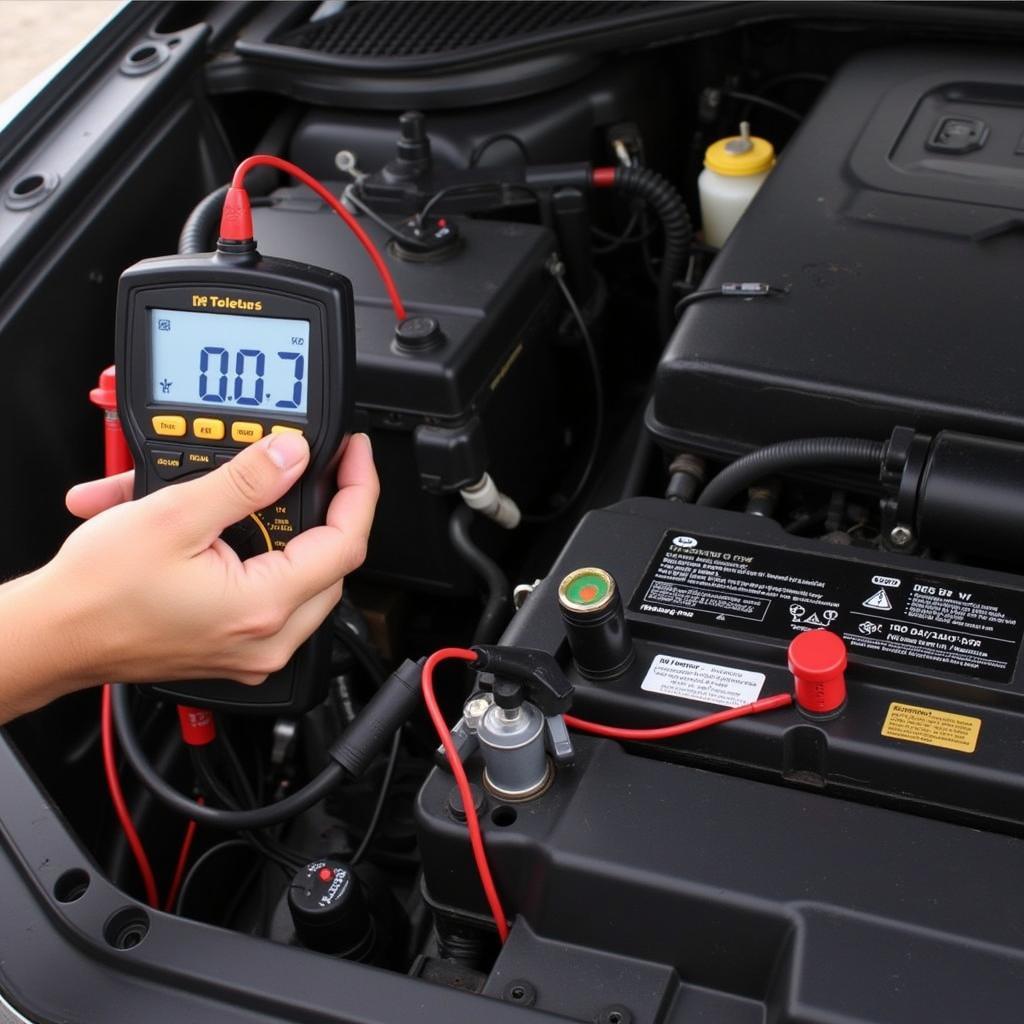
 Installing New Brake Pads on a Land Rover Discovery 3
Conclusion
Addressing the brake pad warning light on your Discovery 3 promptly is crucial for your safety and the longevity of your vehicle. By understanding how to reset the warning light after replacing your brake pads, you can ensure the system’s proper function and enjoy peace of mind on the road.
Remember, if you encounter any difficulties or are unsure about any aspect of the reset process, don’t hesitate to seek professional assistance from a qualified mechanic or Land Rover specialist.
FAQs
1. Can I drive with the brake pad warning light on?
It’s highly discouraged to drive with the brake pad warning light illuminated. Continuing to drive with worn brake pads can compromise your braking ability and lead to further damage.
2. How often should I replace my brake pads?
Brake pad lifespan varies greatly depending on driving habits and conditions. As a general rule, it’s recommended to have your brake pads inspected every 10,000-12,000 miles or as part of your regular maintenance schedule.
3. What is the difference between the brake pad warning light and the brake system warning light?
The brake pad warning light specifically indicates worn brake pads. The brake system warning light, often red, suggests a broader issue with the braking system, such as low brake fluid or a malfunctioning component.
4. Can I use any OBD2 scanner to reset the brake pad warning light?
While most basic OBD2 scanners can read and clear generic codes, it’s recommended to use a scanner specifically compatible with Land Rover vehicles for optimal results.
5. Do I need to disconnect the battery before resetting the brake pad warning light?
Disconnecting the battery is generally not necessary when resetting the brake pad warning light using an OBD2 scanner. However, always consult your vehicle’s owner’s manual or a qualified professional for model-specific instructions.


