A “Low Brake Fluid” warning light illuminating on your 2014 Harley Davidson motorcycle signals a potentially serious issue that shouldn’t be ignored. This warning usually means your brake fluid level is low, which can compromise your bike’s braking ability and put your safety at risk.
While it might seem daunting at first, diagnosing and addressing this issue is achievable, even for those who aren’t mechanically inclined. This comprehensive guide will walk you through understanding why this warning appears, how to diagnose the root cause, and provide potential solutions to get you back on the road safely.
Understanding Your Harley’s Brake System
Your Harley Davidson utilizes a hydraulic braking system. This system relies on brake fluid to transmit force from your hand lever to the brake calipers, ultimately stopping the bike. When the fluid level drops below a certain point, it triggers the warning light, alerting you to a potential problem.
Common Causes of a “Brake Low Warning” on a Harley 2014
While a low brake fluid level is the most common culprit, several factors can contribute to this issue:
- Worn Brake Pads: As brake pads wear down, the brake calipers need more fluid to function correctly. This can lead to a lower fluid level in the reservoir.
- Brake Fluid Leak: A leak anywhere in the system, from the master cylinder to the brake lines and calipers, can lead to a significant drop in brake fluid.
- Air in the Brake Lines: Air can get trapped in the brake lines, often during maintenance or repairs, making the brakes feel spongy and triggering the warning light.
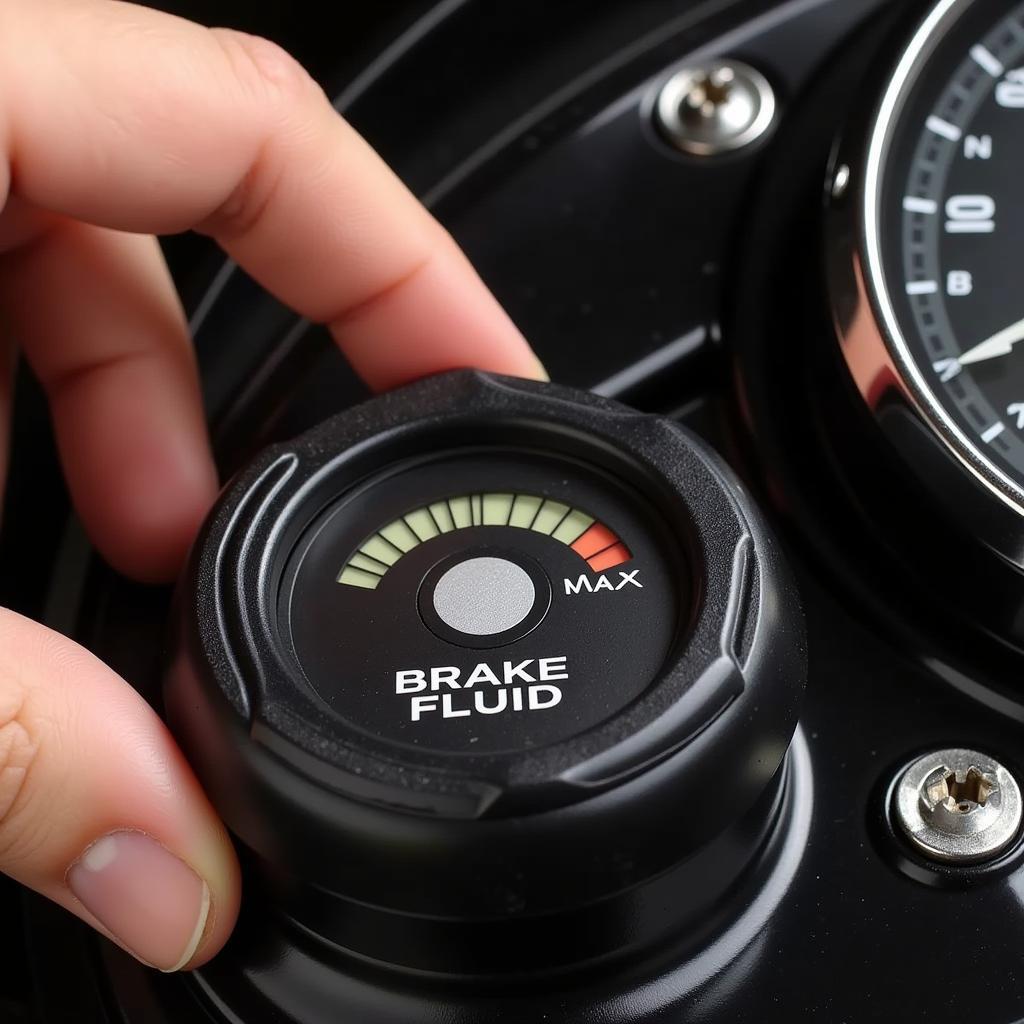
 Checking the Brake Fluid Reservoir
Diagnosing the Problem: A Step-by-Step Guide
-
Check the Brake Fluid Level: Park your Harley on a level surface and locate the brake fluid reservoir. This is usually a translucent container situated above the hand lever. Examine the reservoir for “Min” and “Max” markings. If the fluid level is below the “Min” mark, you need to add brake fluid.
-
Inspect for Leaks: Carefully examine the area around the master cylinder, brake lines, and calipers for any signs of leaking fluid. Look for wet spots, drips, or a change in color on the components. If you notice any leaks, it’s essential to address them promptly.
-
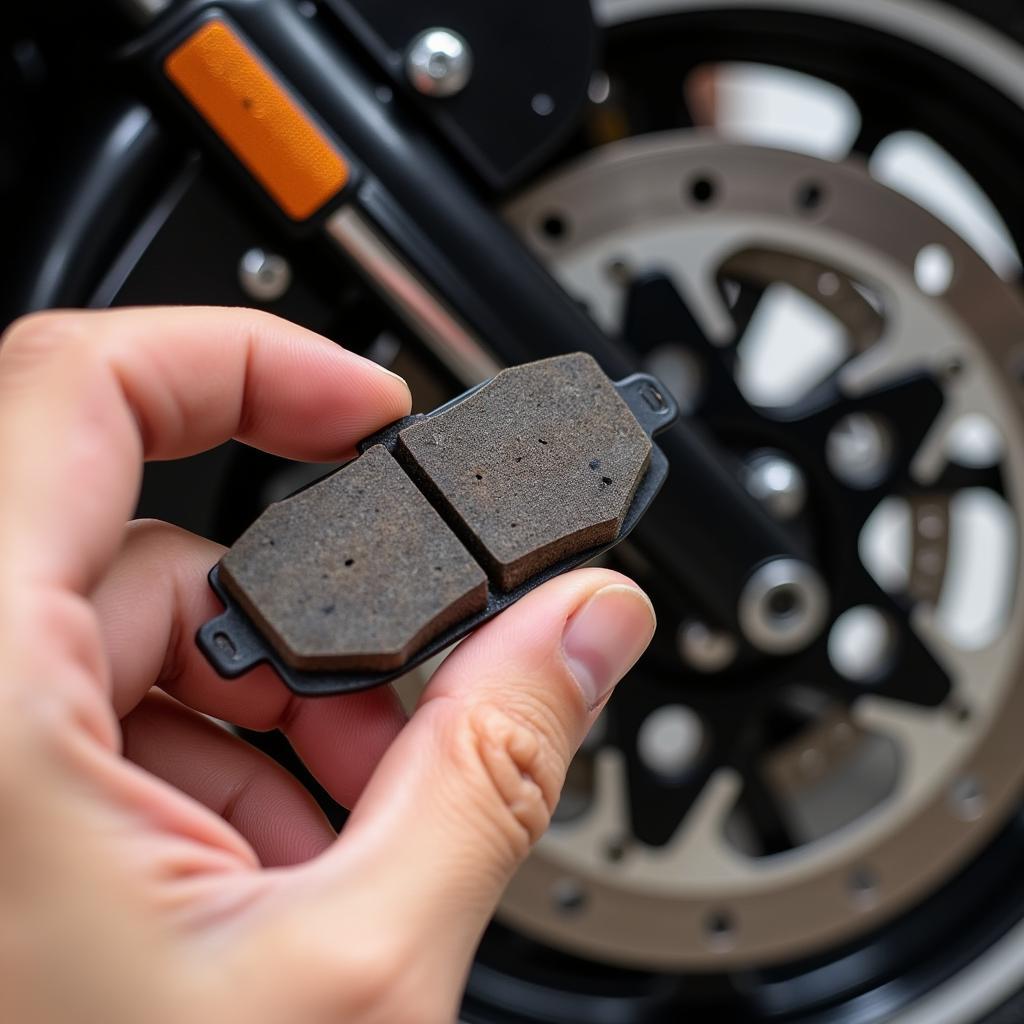
Assess Brake Pad Wear: Inspect your brake pads by looking through the spaces between the caliper and the rotor. If the pads are thin (less than 1/4 inch) or have uneven wear, they’ll need to be replaced.
 Inspecting Harley Davidson Brake Pads
What to Do When You See the “Brake Low Warning”
1. Add Brake Fluid (If No Leaks are Present): If you haven’t noticed any leaks and the brake fluid level is simply low, you can carefully top it off. Always use the DOT (Department of Transportation) approved brake fluid specified in your Harley’s owner’s manual.
Important: If you need to add brake fluid frequently, this indicates an underlying issue that needs to be addressed by a professional mechanic.
2. Seek Professional Help: If you discover a leak, your brake pads are worn, or you suspect air in the lines, it’s crucial to seek professional assistance from a qualified Harley Davidson mechanic. These issues require specialized tools, knowledge, and expertise to ensure your bike’s braking system is restored to its optimal and safe working condition.
Preventative Maintenance for Your Harley’s Brakes
- Regular Inspections: Make it a habit to visually inspect your brake fluid level and look for leaks every time you ride.
- Brake Fluid Flush: Harley Davidson recommends changing your brake fluid every two years or 20,000 miles to maintain optimal performance.
- Timely Brake Pad Replacement: Replace your brake pads before they wear down too thin to avoid potential damage to the rotors and other braking components.
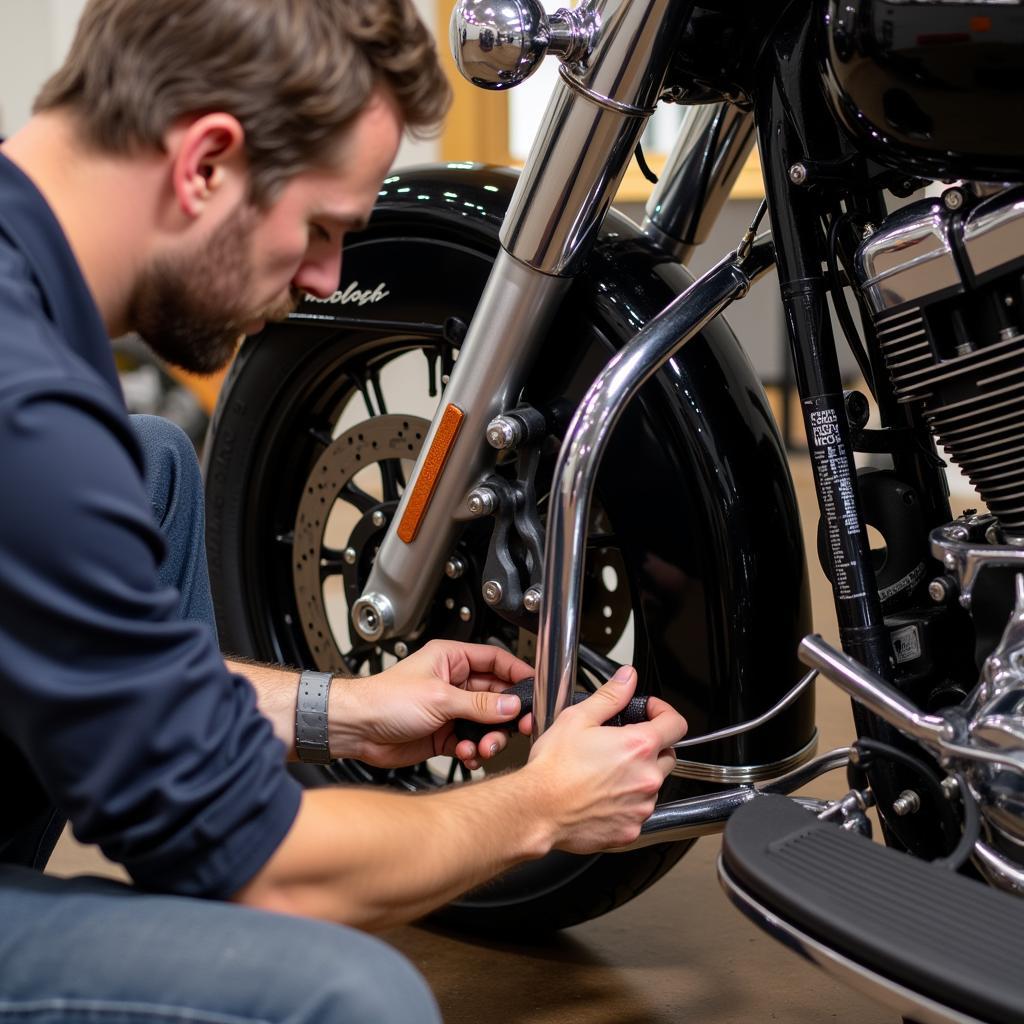
 Harley Davidson Brake System Maintenance
Expert Insight
“Many riders underestimate the importance of regular brake maintenance,” says Mike Johnson, a senior Harley Davidson mechanic with over 20 years of experience. “A well-maintained braking system is crucial for safety, especially on a powerful machine like a Harley. Don’t delay addressing any brake issues – it’s better to be safe than sorry.”
Conclusion: Prioritizing Your Safety
Ignoring a “Brake Low Warning” on your Harley 2014 can lead to serious consequences. Addressing the issue promptly ensures your safety and the longevity of your bike. Whether you’re topping off the brake fluid or seeking professional help, prioritize your Harley’s braking system and enjoy the open road with confidence.
FAQs
1. Can I use any type of brake fluid in my Harley? No, always use the DOT-approved brake fluid specified in your owner’s manual. Using the wrong type of fluid can damage your braking system.
2. How often should I replace my Harley’s brake pads? Brake pad life varies depending on riding style and conditions. However, it’s recommended to inspect them every 5,000 miles and replace them when they are worn down to 1/4 inch or less.
3. Is it difficult to bleed the brakes on a Harley Davidson? Bleeding brakes requires specialized tools and knowledge. It’s recommended to have this procedure performed by a qualified mechanic.
4. What could cause my Harley’s brakes to feel spongy? Air in the brake lines is a common cause of spongy brakes. Leaking brake fluid or worn brake components can also contribute to this problem.
5. Why is my “Brake Low Warning” light still on after adding fluid? If the light persists after adding fluid, there may be a leak in the system, or the brake light switch may be faulty. Consult a mechanic to diagnose the issue.
6. Can I ride my Harley with the “Brake Low Warning” light on? It’s highly discouraged to ride your Harley with the warning light illuminated. This indicates a potential issue with your brakes, putting your safety at risk.
7. How much does it cost to fix a brake fluid leak on a Harley? The cost of repair depends on the location and severity of the leak. It’s best to get a quote from a qualified mechanic for an accurate estimate.


