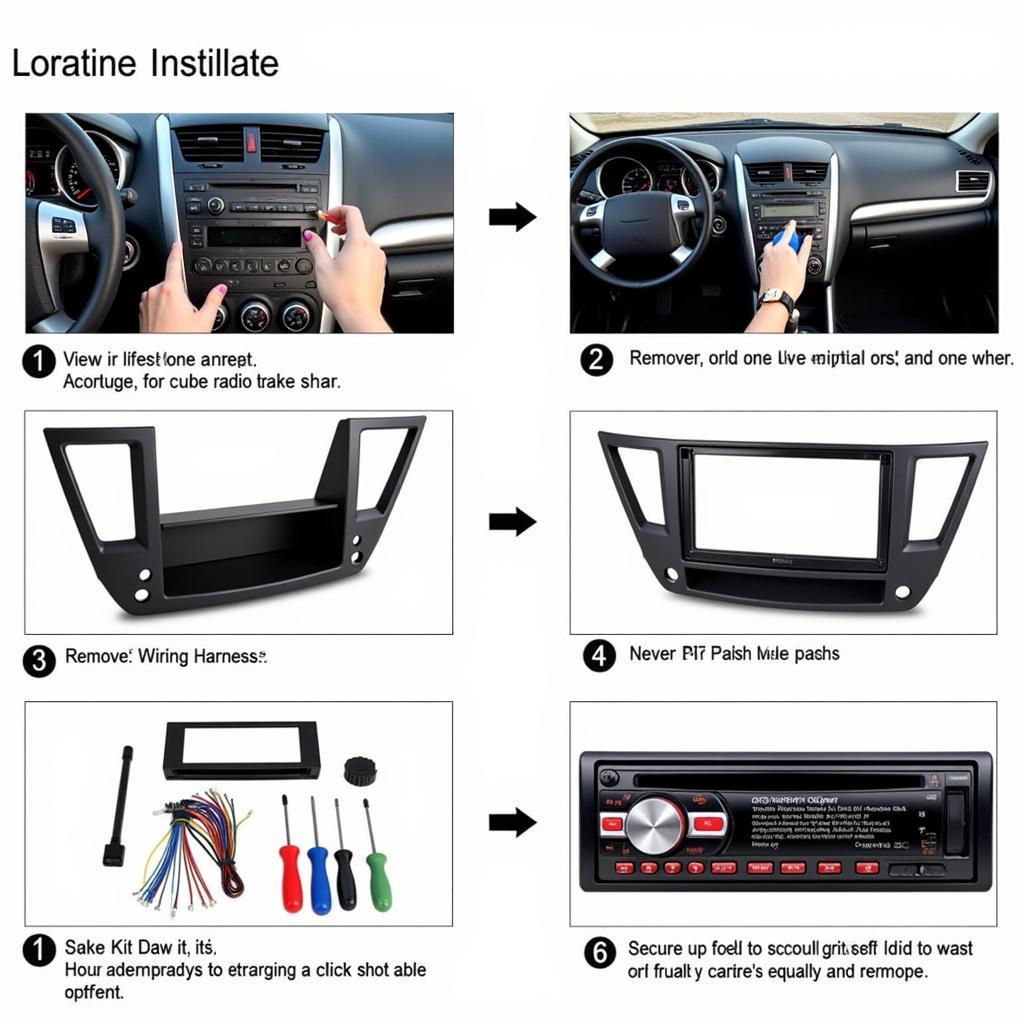
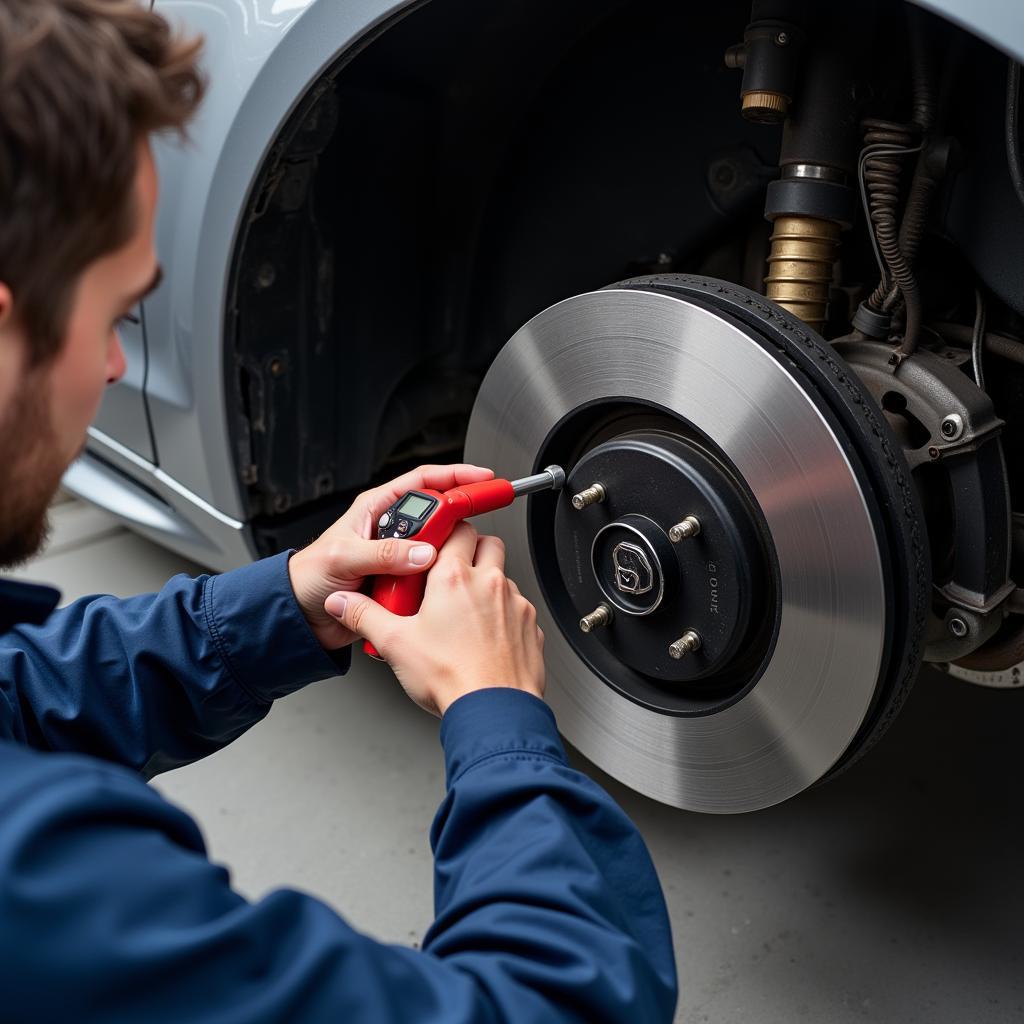
When installing a new car radio, it’s crucial to ground it correctly. Not only does this ensure optimal performance and sound quality, but it also protects your car’s electrical system and even your own safety. A proper ground connection provides a direct path for electrical current to flow back to the battery, preventing damage to sensitive electronic components. This guide will walk you through the process, explaining why it’s so important and how to do it right.
Understanding the Importance of Grounding Your Car Radio
Before we dive into the how-to, let’s first understand why grounding your car radio is non-negotiable. In simplest terms, grounding creates a safe pathway for excess electrical energy to flow to the ground (in this case, the car’s chassis) in case of a short circuit or voltage surge.
Without proper grounding, here’s what could happen:
- Poor sound quality: You might experience static, whining, or other noise interference that disrupts your listening experience.
- Damage to the radio: A poorly grounded radio is vulnerable to voltage spikes that can fry its delicate circuitry.
- Electrical system issues: In extreme cases, a faulty ground can affect other electrical components in your car.
- Safety hazard: In the worst-case scenario, an ungrounded radio could become a fire hazard.
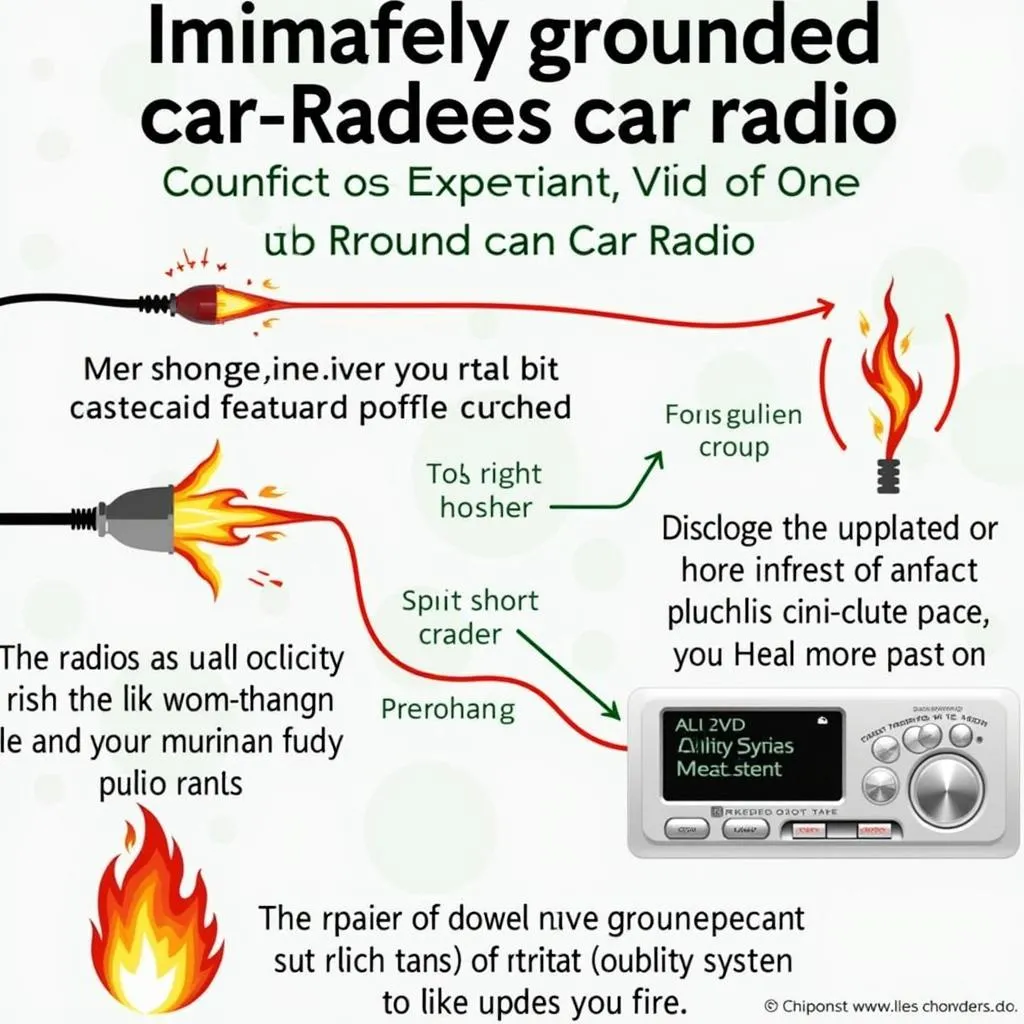 Why Grounding Your Car Radio is Crucial
Grounding Your Car Radio: A Step-by-Step Guide
Now that you understand the “why,” let’s move on to the “how.” Grounding your car radio is a straightforward process, even for beginners. Here’s a step-by-step guide:
-
Locate a Suitable Grounding Point: The ideal grounding point is a clean, unpainted metal surface on your car’s chassis. This could be a bolt, screw, or a dedicated grounding terminal.
-
Prepare the Ground Wire: Most car radios come with a ground wire, usually black or black with a white stripe. If your radio doesn’t have one, you can easily get one from an auto parts store. Strip about ½ inch of insulation from the end of the wire to expose the bare wire.
-
Clean the Grounding Point: Use sandpaper or a wire brush to remove any paint, rust, or dirt from the grounding point. A clean connection is crucial for a secure ground.
-
Connect the Ground Wire: Loosen the bolt or screw at the grounding point. Secure the ground wire by looping the exposed wire around the bolt or placing it under the screw head, then tighten it securely.
-
Double-Check Your Connection: Give the ground wire a gentle tug to ensure it’s firmly attached. A loose connection will defeat the purpose of grounding.
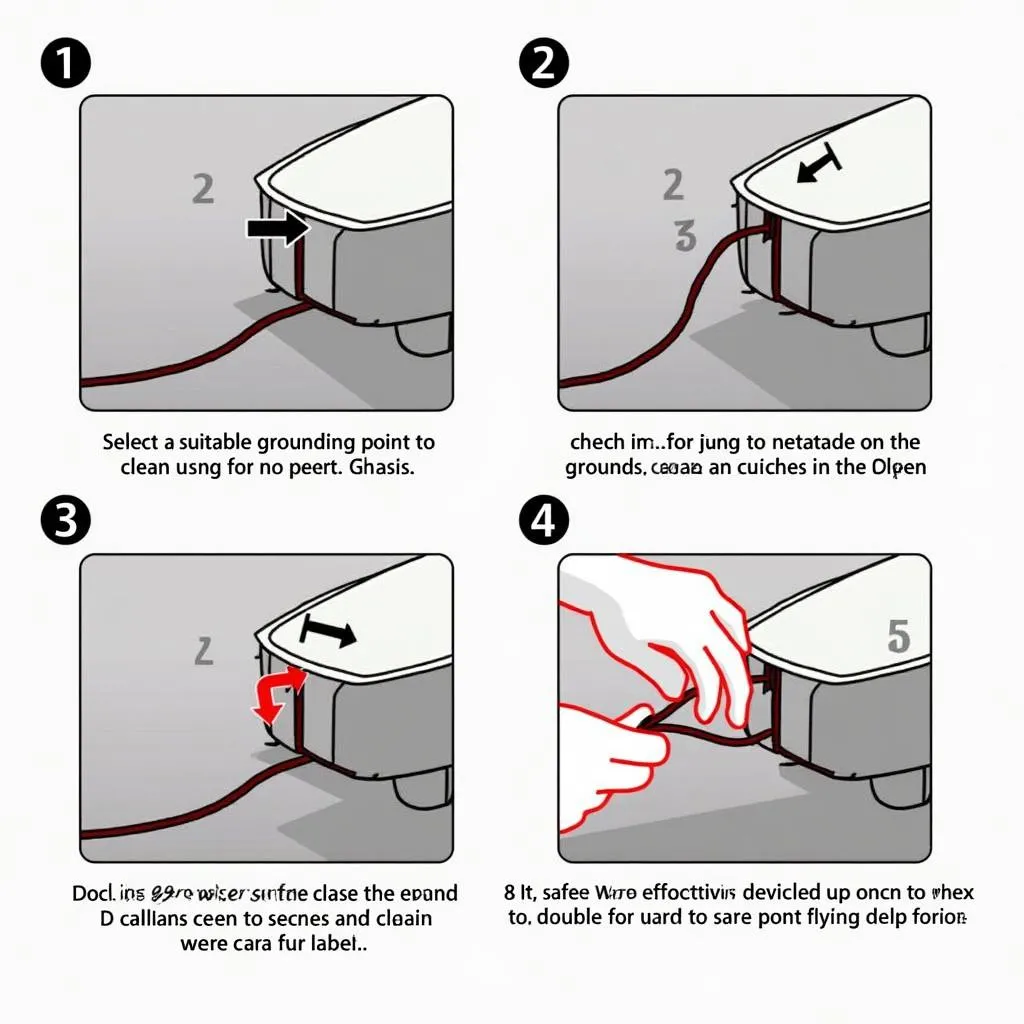 Connecting the Ground Wire to the Chassis
Common Issues and Troubleshooting
Even with the best intentions, you might encounter a few hiccups during the grounding process. Here are some common issues and how to troubleshoot them:
-
Persistent Noise: If you still hear static or interference after grounding the radio, the ground wire might not be properly connected. Double-check the connection and ensure the grounding point is clean and free of paint or rust. You can also try a different grounding point.
-
Radio Not Powering On: This could indicate a blown fuse in the radio’s power circuit, often caused by a short during installation. Check your car’s fuse box and replace any blown fuses.
-
Intermittent Power: A loose ground wire can cause the radio to power on and off intermittently. Tighten the ground wire connection and ensure it’s securely fastened.
 Troubleshooting Car Radio Grounding Problems
FAQs about Grounding Car Radios
Here are some frequently asked questions about grounding car radios:
Q: Can I ground my radio to any metal part in my car?
While any metal part might seem like a viable option, it’s crucial to choose a clean, unpainted surface that provides a direct electrical path to the battery’s negative terminal. Using a painted or rusty surface can hinder the flow of electricity and result in an ineffective ground.
Q: What gauge ground wire should I use?
The recommended gauge for a car radio ground wire is typically 16-gauge or thicker. Using a wire that’s too thin can lead to voltage drop and affect the radio’s performance.
Q: How important is it to disconnect the car battery before grounding the radio?
It’s always a safe practice to disconnect the negative terminal of your car battery before working on any electrical components, including the radio. This minimizes the risk of short circuits and potential damage to your car’s electrical system.
Need Expert Assistance?
Properly grounding your car radio is a fundamental step in car audio installation. If you’re unsure about any part of the process or encounter persistent issues, don’t hesitate to seek professional help. Cardiagtech provides a range of advanced diagnostic and programming tools for automotive professionals. Contact us today to learn more about our products and how we can assist you with your automotive needs.


