Upgrading your car’s audio system can dramatically improve your driving experience. Knowing how do you install a radio in your car empowers you to take control of your vehicle’s soundscape, whether you’re aiming for booming bass or crystal-clear podcasts. This guide provides a comprehensive walkthrough of the car radio installation process.
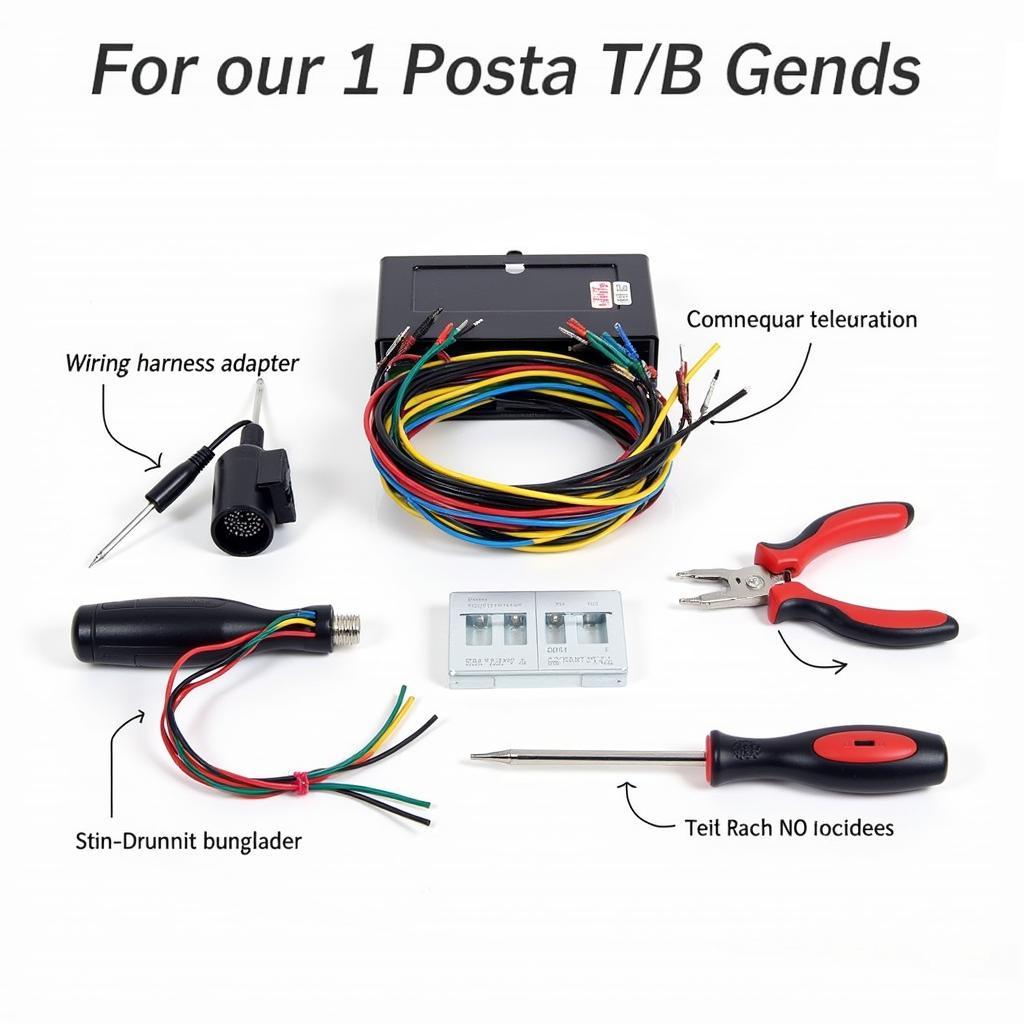
 Car Radio Installation Tools and Wiring Harness
Choosing the right head unit is the first step. Consider features like Bluetooth connectivity, smartphone integration (Apple CarPlay or Android Auto), and sound quality. A best buy car bluetooth radio can significantly upgrade your driving experience. You’ll also need a wiring harness adapter, a dash kit specific to your car model, and basic tools like screwdrivers and wire strippers.
Preparing for the Installation
Before you start, disconnect the negative terminal of your car battery to prevent electrical shorts. This is a crucial safety precaution. Next, gather all your tools and materials in a well-lit area. Having everything within reach will make the process smoother and more efficient.
Removing the Old Car Radio
Using a dash removal tool or a flathead screwdriver, carefully pry off the trim panels surrounding your old radio. Consult your car’s service manual or online resources for specific instructions on removing these panels without causing damage. Once the trim is removed, unscrew the old radio and disconnect the wiring harness and antenna cable.
Wiring the New Car Radio
This is where the wiring harness adapter comes into play. Match the wires from the adapter to the corresponding wires on your new radio’s harness. Use wire strippers and crimp connectors or electrical tape to secure the connections. Pay close attention to the wiring diagram provided with your adapter to ensure correct connections. For enhanced hands-free calling, a best bluetooth handsfree car radio is a great choice.
Installing the Dash Kit
The dash kit is designed to seamlessly integrate your new radio into your car’s dashboard. Attach the kit to the new radio following the manufacturer’s instructions. This will provide a professional and finished look.
Securing the New Radio
Carefully slide the new radio into the dashboard opening. Secure it using the mounting brackets or screws provided with the kit or your new radio. Don’t overtighten the screws to avoid damaging the dashboard or the radio. If you’re looking for a wider selection, check out the best aftermarket bluetooth car radio options.
Testing and Finalizing
Reconnect the negative terminal of your car battery. Turn on the ignition and test the new radio. Check all the functions, including radio reception, Bluetooth connectivity, and sound quality. If everything works correctly, reattach the trim panels.
What if I have steering wheel controls?
Many aftermarket radios can integrate with your car’s steering wheel controls. You may need an additional adapter for this feature. Consult your radio’s manual for specific instructions. Some car stereos, like the car radio with parrot bluetooth, offer seamless integration.
How do I improve the sound quality even further?
Consider upgrading your car’s speakers or adding an amplifier for a richer audio experience. If clear hands-free calling is a priority, a bluetooth car radio with external mic might be ideal.
Quote from John Miller, Certified Automotive Electronics Technician: “A proper wiring harness adapter is crucial for a successful installation. It simplifies the wiring process and prevents damage to the car’s electrical system.”
Quote from Sarah Lee, Car Audio Specialist: “Don’t underestimate the importance of a good dash kit. It ensures a clean and professional look, making your new radio look like it belongs in your car.”
In conclusion, installing a car radio yourself can be a rewarding DIY project. By following these steps and taking your time, you can upgrade your car’s audio system and enjoy your favorite tunes on the road. How do you install a radio in your car? With a little patience and the right tools, it’s easier than you think!


