A glowing brake warning light on your Mini Cooper’s dashboard can be alarming. While it usually signals an issue with your braking system, sometimes it’s simply a matter of resetting the light after routine maintenance. This comprehensive guide will walk you through the common causes and provide step-by-step instructions on how to reset the brake warning light on your Mini Cooper.
Understanding Your Mini Cooper’s Brake Warning Light
Your Mini Cooper’s brake warning light is part of its intricate safety system. When illuminated, it could indicate several issues:
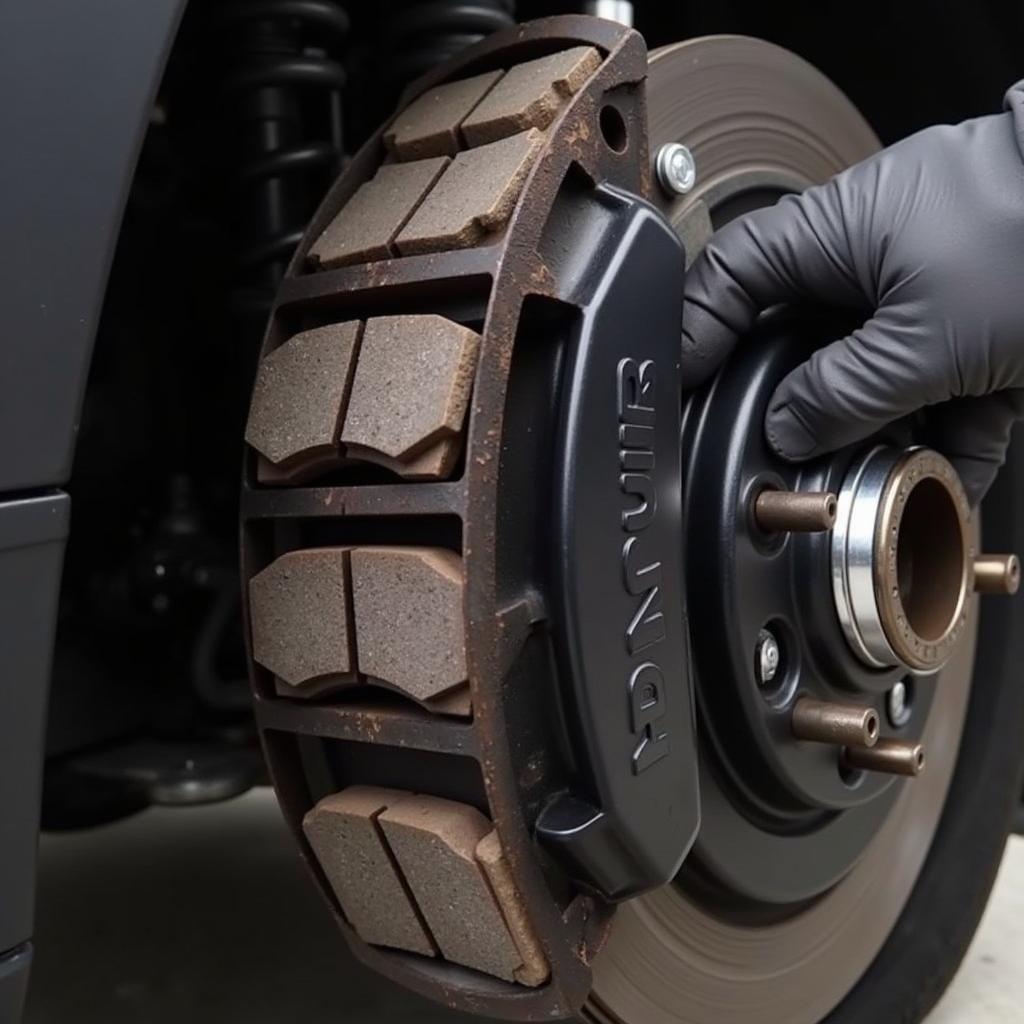
- Worn Brake Pads: This is the most common culprit. Mini Coopers are equipped with brake pad wear sensors that trigger the warning light when the pads thin out.
- Low Brake Fluid: Brake fluid is essential for transmitting force when you press the brake pedal. If the fluid level is low, it can affect braking performance and trigger the warning light.
- Faulty Brake Light Switch: This switch activates your brake lights when you press the pedal. A malfunctioning switch can confuse the car’s system and illuminate the warning light.
- ABS Issue: While less common, a problem with the Anti-lock Braking System (ABS) can also trigger the warning light.
Before You Reset: Safety First
Before attempting to reset the brake warning light, it’s crucial to rule out any serious underlying problems. If you suspect any of the following, seek professional help immediately:
- Spongy or soft brake pedal: This indicates a potential brake fluid leak or air in the braking system.
- Grinding noise when braking: This suggests severely worn brake pads that require immediate replacement.
- Pulling to one side when braking: This could signify uneven brake pad wear or a more serious issue with the brake calipers or hydraulic system.
How to Reset Your Mini Cooper’s Brake Warning Light
Once you’ve ensured your braking system is safe, you can proceed with resetting the warning light. Here’s a general guide, but remember that procedures may vary slightly depending on your Mini Cooper’s model year:
1. Check Your Brake Fluid
- Open the hood and locate the brake fluid reservoir.
- Check the fluid level. It should be between the minimum and maximum marks.
- If low, add the appropriate brake fluid (consult your owner’s manual for the correct type).
2. Inspect Your Brake Pads
- If you have the tools and experience, check the thickness of your brake pads through the wheel spokes.
- If they appear thin or worn, it’s best to replace them.
3. Resetting the Warning Light
-
Method 1: Driving Reset
- Start your Mini Cooper and find a safe, traffic-free area.
- Accelerate to approximately 30-40 mph.
- Apply the brakes firmly and hold for a few seconds.
- Repeat this process a few times. The warning light should extinguish if the issue was temporary.
-
Method 2: Battery Disconnection
- Important: Disconnecting the battery can impact other vehicle settings. Refer to your owner’s manual for specific instructions and potential impacts.
- Disconnect the negative terminal of your Mini Cooper’s battery.
- Wait for at least 15 minutes to allow the car’s computer to reset.
- Reconnect the battery terminal.
- Start the engine and check if the warning light is off.
When to Seek Professional Help
If the brake warning light persists after trying these reset methods, it’s crucial to have your Mini Cooper inspected by a qualified mechanic. They have the diagnostic tools and expertise to identify and fix any underlying problems.
Frequently Asked Questions
1. Can I drive my Mini Cooper with the brake warning light on?
It’s not recommended. Driving with the brake warning light on could be dangerous, as it indicates a potential problem with your braking system.
2. How often should I change my Mini Cooper’s brake pads?
Brake pad lifespan varies depending on driving habits. However, it’s generally recommended to have them inspected every 10,000-12,000 miles.
3. How do I know if my brake fluid is leaking?
Look for signs like fluid puddles under your car, a consistently low brake fluid level, or a soft or spongy brake pedal.
4. Can I reset the brake warning light myself?
While you can try the reset methods mentioned above, it’s essential to address the underlying issue. If the light persists, consult a mechanic.
5. Why is my brake warning light flashing?
A flashing brake warning light often indicates a more serious problem, such as a malfunctioning ABS system. Seek professional help immediately.
 Inspecting Brake Pads on a Mini Cooper
Conclusion
Resetting the brake warning light on your Mini Cooper can sometimes be a simple DIY task. However, it’s vital to remember that this light is a crucial safety indicator. Never ignore it or attempt to reset it without first ensuring your braking system is in proper working order. If you’re ever in doubt, consult a qualified mechanic to diagnose and repair any underlying issues.
For model-specific instructions on resetting your Mini Cooper’s brake warning light, refer to your owner’s manual or visit our website for detailed guides on specific Mini Cooper models: mini reset brake warning light.


