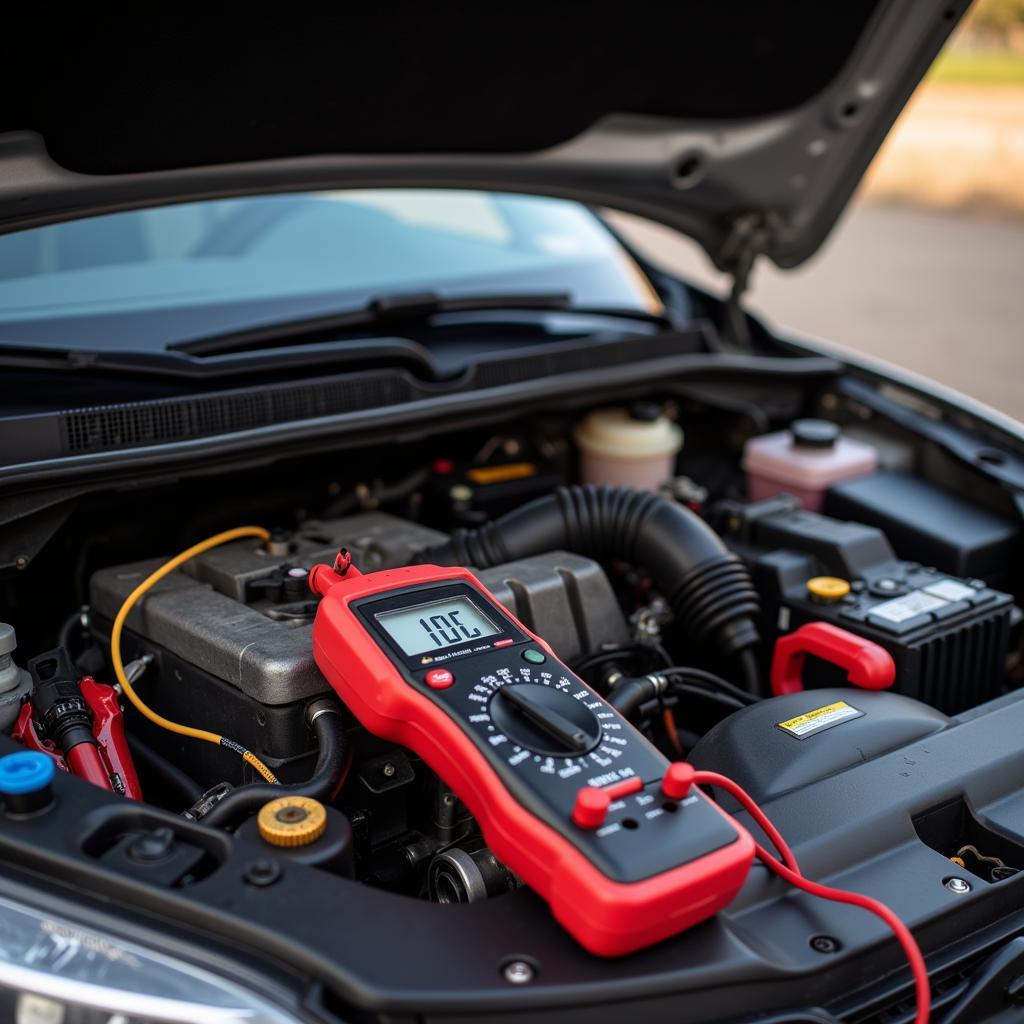
Knowing how to remove a car stereo wiring harness is an essential skill for any car audio enthusiast or DIY mechanic. Whether you’re upgrading your old stereo system or troubleshooting electrical issues, understanding the ins and outs of this process can save you time, money, and potential headaches. This guide will provide a step-by-step walkthrough on how to safely and effectively remove your car stereo wiring harness.
Understanding Your Car Stereo Wiring Harness
A car stereo wiring harness is the nerve center of your car’s audio system, acting as the bridge between your stereo head unit and the vehicle’s electrical system. This intricate network of wires delivers power, transmits audio signals, and controls various components like speakers, amplifiers, and antennas.
Common Car Stereo Wiring Harness Problems
A faulty wiring harness can lead to various problems, such as:
- No sound from speakers: This could indicate a break in the speaker wires or a loose connection within the harness.
- Intermittent audio: Loose connections or damaged wires can cause the sound to cut in and out.
- Stereo won’t turn on: A lack of power to the head unit suggests a problem with the power or ground wires in the harness.
- Blown fuses: Shorted wires within the harness can overload the system and blow fuses.
Causes of Wiring Harness Issues
Several factors can contribute to car stereo wiring harness issues:
- Wear and tear: Over time, exposure to heat, vibration, and moisture can degrade the wires and insulation, leading to shorts or open circuits.
- Improper installation: A poorly installed harness can result in loose connections, pinched wires, or incorrect wiring, causing malfunctions.
- Water damage: Exposure to water from leaks or spills can corrode connections and damage the wiring insulation.
Diagnosing the Problem
Before you begin removing the harness, it’s crucial to identify the root cause of the problem.
- Visual inspection: Carefully examine the wiring harness for any visible signs of damage, such as cuts, burns, or exposed wires.
- Software diagnostics: Utilize a professional-grade OBD-II scanner, like those offered by Cardiagtech, to read and interpret your vehicle’s diagnostic trouble codes (DTCs). These codes can pinpoint specific electrical issues, including those related to the stereo system.
Tools and Materials You’ll Need
Having the right tools and materials on hand will make the removal process much smoother:
- Screwdriver set: Choose a set with various sizes and types of screwdrivers to accommodate different screw heads found in your car’s dashboard.
- Panel removal tools: These plastic tools help to gently pry open dashboard panels without causing damage.
- Wire cutters/strippers: In case you need to cut or strip wires for repairs or modifications.
- Electrical tape: Useful for insulating exposed wires and securing connections.
- Flashlight or headlamp: Provides essential illumination in tight spaces.
How to Remove Your Car Stereo Wiring Harness
Follow these steps to safely and correctly remove your car stereo wiring harness:
- Disconnect the battery: This crucial first step eliminates the risk of electrical shock or damage to your car’s electrical system. Locate your car battery and disconnect the negative (-) terminal.
- Remove the dashboard trim: Using your panel removal tools, gently pry open the dashboard panels surrounding your car stereo. Start from the edges and work your way inwards, taking care not to scratch or damage the dashboard.
- Unscrew and pull out the stereo: Once the trim is removed, you’ll see screws holding the stereo in place. Unscrew these and carefully pull the stereo out, being mindful of the wiring harness connected to the back.
- Disconnect the wiring harness: Locate the wiring harness connector at the back of the stereo. There’s usually a locking tab that needs to be pressed or lifted to release the connector.
- Label the wires (optional): If you plan to reinstall the same stereo or install a new one with the same wiring configuration, it’s helpful to label the wires before completely disconnecting the harness. You can use masking tape and a marker to label each wire according to its function.
- Carefully remove the harness: Once the connector is released, gently pull the wiring harness out of the dashboard.
FAQs about Car Stereo Wiring Harnesses
Q: Can I replace my car stereo wiring harness myself?
A: Yes, replacing a car stereo wiring harness is achievable for DIY enthusiasts with basic automotive electrical knowledge. However, if you’re not comfortable working with electrical systems, it’s best to consult a qualified professional.
Q: Where can I find a replacement wiring harness for my car?
A: Replacement wiring harnesses can be found at car audio stores, online retailers, or dealerships. When choosing a harness, ensure it’s compatible with your car’s make, model, and year.
Q: How do I know if my car stereo wiring harness needs to be replaced?
A: If you’re experiencing persistent audio issues, electrical problems, or visible damage to the harness, it’s likely time for a replacement.
Q: What are some common mistakes to avoid when working with car stereo wiring harnesses?
A: Some common mistakes include forcing connections, using incorrect wiring diagrams, and failing to disconnect the battery before working on the electrical system. “Always double-check your connections and refer to a reliable wiring diagram for your specific vehicle model,” advises John Smith, a seasoned automotive electrician and author of “The Complete Guide to Car Audio Wiring.”
Conclusion
Removing your car stereo wiring harness is a manageable task when approached with patience and the right information. By following the steps outlined in this guide, you can confidently tackle this project and ensure a successful outcome.
If you encounter any difficulties or have further questions, don’t hesitate to contact the experts at Cardiagtech. We offer a wide range of automotive diagnostic and repair solutions, including assistance with car stereo systems. Reach out to us at +1 (641) 206-8880 or [email protected], or visit our office at 276 Reock St, City of Orange, NJ 07050, United States.


