Understanding old car radio wiring colours can be a real headache, especially when trying to upgrade your classic car’s audio system. Whether you’re dealing with a vintage beauty or just an older model, deciphering that tangle of wires can be daunting. This guide will delve into the intricacies of car radio wiring, offering clear explanations and practical tips to help you conquer this challenge.
What makes understanding these wires so crucial? Well, getting the wiring wrong can lead to anything from a non-functional radio to more serious issues like blown fuses or even damage to your car’s electrical system. So, before you grab your wire strippers, let’s unravel the mystery of those multi-colored wires.
Identifying Common Old Car Radio Wire Colours
While there isn’t a universally standardized color code for older car radios, some common conventions exist. Knowing these can significantly simplify your installation or troubleshooting process.
- Red: Typically represents the main power supply wire, connected directly to the car’s battery.
- Black: Usually indicates the ground wire, essential for completing the electrical circuit.
- Yellow: Often signifies the constant 12V power supply, which maintains the radio’s memory and presets even when the car is off.
- Blue: Commonly used for the power antenna or amplifier remote turn-on lead.
- Orange: Can represent the illumination wire, dimming the radio display along with the car’s dashboard lights.
- Green, Purple, Gray, White: These colors generally correspond to the speaker wires, with different colors representing positive and negative connections for each speaker.
Remember, these are just common conventions. Always consult your car’s specific wiring diagram for accurate information. You can usually find this in your car’s owner’s manual or online resources. If you’re looking for ways to improve your car’s audio and connect your headphones, check out how to connect bluetooth headphones to car radio.
Using a Wiring Diagram
A wiring diagram is your best friend when dealing with old car radio wiring. It provides a visual representation of the car’s electrical system, showing the path of each wire and its function.
- Locate your car’s wiring diagram: As mentioned earlier, you can often find this in your car’s owner’s manual or by searching online.
- Identify the radio wiring section: The diagram will usually have different sections for various components. Focus on the part related to the radio.
- Trace the wires: Follow the lines representing each wire from the radio to their respective connections. Pay close attention to the color codes and labels.
“A wiring diagram is like a roadmap for your car’s electrical system,” says automotive electrician John Davis. “It takes the guesswork out of wiring and helps prevent costly mistakes.”
Troubleshooting Common Wiring Issues
Sometimes, even with a wiring diagram, you might encounter problems. Here are some common issues and their solutions:
- Radio not powering on: Check the red (power) and black (ground) wires. Ensure they are securely connected and free of corrosion.
- Radio losing presets: The yellow (constant 12V) wire might be disconnected or faulty.
- No sound from speakers: Verify the speaker wire connections (green, purple, gray, white). Make sure the polarity is correct.
- Antenna not working: Inspect the blue (power antenna) wire.
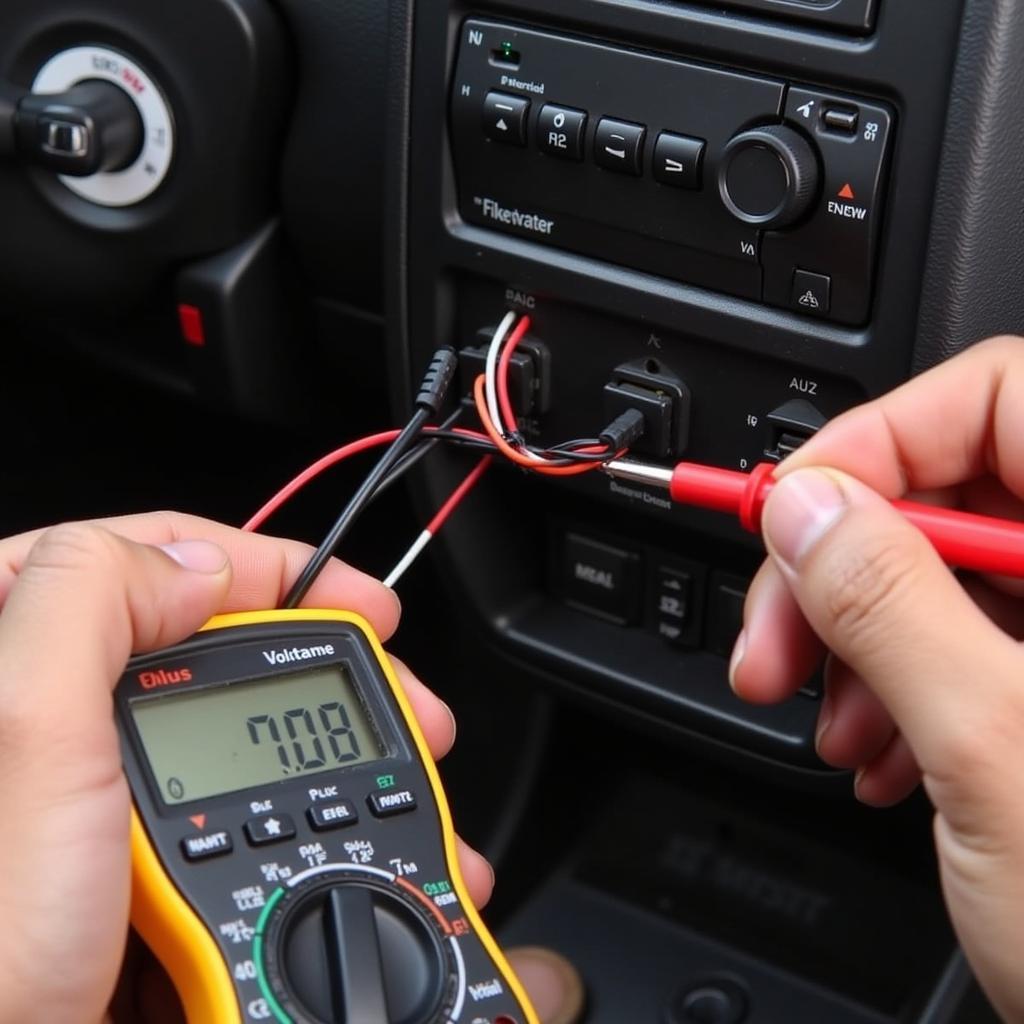
 Multimeter Testing Car Radio Wiring
If you are experiencing Bluetooth connectivity issues, it is useful to know why my phone and car radio bluetooth is stopping. Understanding these issues can help you troubleshoot any audio problems you may have with your car.
Tools for Working with Car Radio Wiring
Having the right tools makes the job much easier. Here are a few essentials:
- Wire strippers/crimpers: For removing insulation and connecting wires.
- Multimeter: For testing voltage and continuity.
- Electrical tape: For insulating connections.
- Soldering iron (optional): For creating more permanent connections.
“Investing in quality tools can save you time and frustration in the long run,” advises automotive electronics specialist Sarah Miller. “They also help ensure a safe and reliable installation.” When considering connecting headphones to your existing car radio system, you may want to learn about car radio bluetooth headphones.
Conclusion
Deciphering old car radio wiring colours doesn’t have to be a daunting task. With a good understanding of the common color codes, a wiring diagram, and the right tools, you can confidently tackle any car audio project. Remember, taking the time to understand your car’s wiring is essential for a successful and safe installation. Hopefully, this guide makes your next car audio adventure a smooth ride. If you’re searching for convenient apps to play music directly from your phone, you may want to look into an app to play music from phone via bluetooth car radio.


