If your car radio displays the dreaded “Check Wiring” message, it can be frustrating. This message indicates a problem with the electrical connections to your car stereo, and understanding why it appears is the first step towards fixing it. This article will guide you through the common causes and solutions, helping you get your tunes back on track.
One common reason for the “Check Wiring” message is a loose or corroded wiring harness. Over time, vibrations and exposure to moisture can loosen connections or cause corrosion, disrupting the flow of power and signals. Another culprit could be a blown fuse. Fuses protect your car’s electrical system from overloads, and a blown fuse connected to the radio can trigger the error. Sometimes, the problem isn’t with the wiring itself but with the radio’s internal components. A malfunctioning head unit can also cause the “Check Wiring” message. You might be surprised to learn that even something as simple as a short circuit in the speaker wires can trigger the message.
Common Causes of “Check Wiring” Message
Understanding the potential reasons behind the “Check Wiring” message can save you time and frustration. Let’s explore some of the most common culprits:
- Wiring Harness Issues: This is often the primary cause. Check for loose connections, damaged wires, or corrosion at the radio harness connector.
- Blown Fuse: Locate and inspect the fuse associated with your car radio. A blown fuse is an easy fix.
- Faulty Head Unit: If the wiring and fuse are fine, the problem may reside within the radio itself.
- Speaker Wire Issues: Damaged or shorted speaker wires can also cause the “Check Wiring” message to appear.
- Incorrect Wiring: If you’ve recently installed a new stereo or made modifications to the wiring, double-check that everything is connected correctly.
Diagnosing the Problem
Here’s a simplified approach to diagnosing the problem:
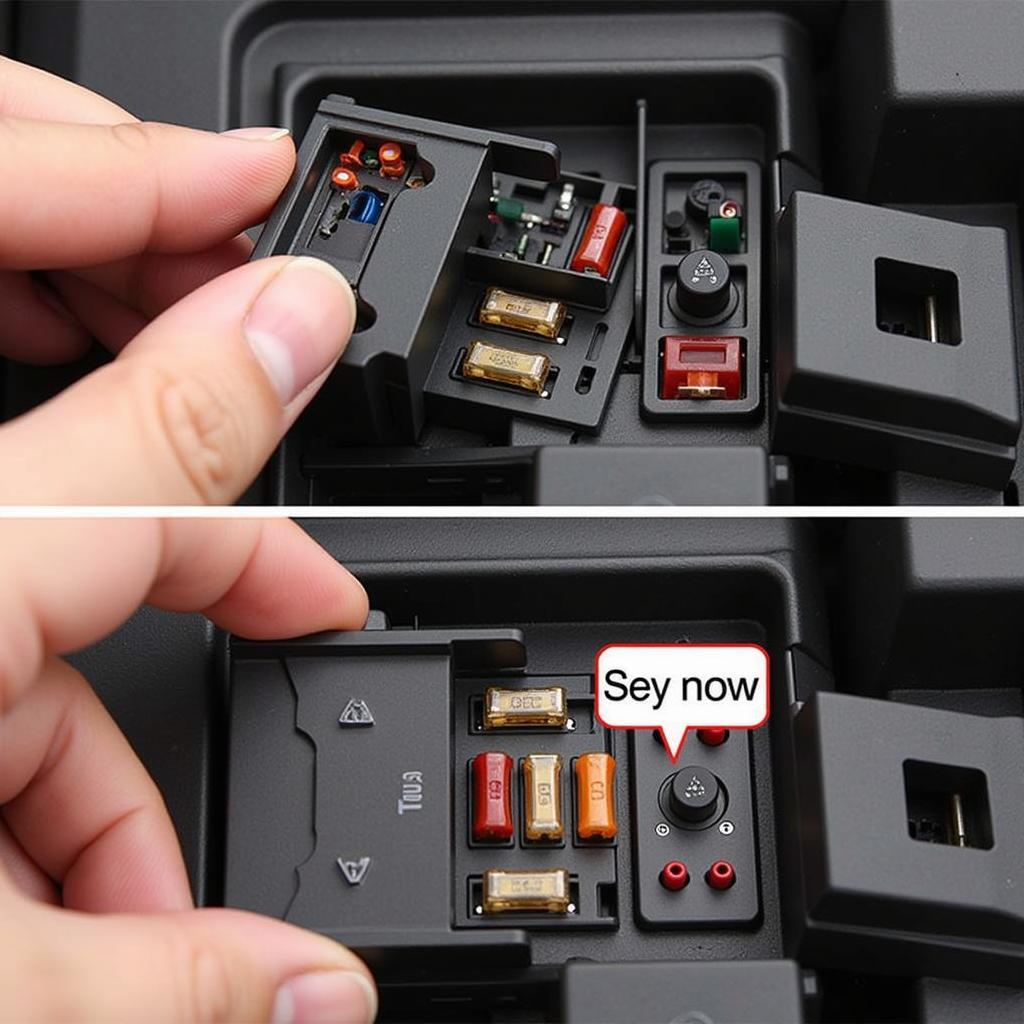
- Check the Fuse: Start with the easiest fix. Locate the radio fuse in your car’s fuse box (usually under the dashboard or in the engine bay) and check if it’s blown.
- Inspect the Wiring Harness: Carefully examine the wiring harness connected to the back of the radio for any loose connections, damaged wires, or signs of corrosion.
- Test the Speaker Wires: Disconnect the speaker wires from the radio and check for any shorts or damage. A multimeter can be helpful here.
- Check the Head Unit: If all else fails, the problem may be with the radio itself. Consider having it checked by a professional.
Fixing the “Check Wiring” Issue
Depending on the cause, fixing the issue can range from a simple DIY task to a more involved repair. If you’re comfortable working with car electronics, you might be able to tackle some of these fixes yourself.
DIY Solutions
- Replace a Blown Fuse: Replacing a blown fuse is straightforward. Just locate the correct fuse and replace it with one of the same amperage rating.
- Clean Corroded Connections: Use a wire brush or contact cleaner to remove corrosion from the wiring harness connections.
- Secure Loose Connections: Make sure all connections in the wiring harness are secure and properly seated.
If you need a vintage car stereo with hd radio and bluetooth, consider upgrading. Or if you need guidance on wiring a car radio directly to battery, refer to helpful resources. For a specific wiring diagram, such as the 2001 honda accord car stereo radio wiring diagram, you can find this information online.
 Replacing blown car radio fuse
When to Seek Professional Help
If you’re not comfortable working with car electronics or if the problem persists after trying the DIY solutions, it’s best to seek professional help. A qualified car audio technician can diagnose and repair more complex issues, such as a faulty head unit or internal wiring problems. Adding a bluetooth add on to car radio can also be tricky if you’re not familiar with car audio systems.
“A ‘Check Wiring’ message isn’t always a major problem,” says John Smith, Automotive Electrical Specialist at Smith Auto Repairs. “Often, it’s a simple fix like a blown fuse or a loose connection. However, if you’re not comfortable working on your car’s electrical system, it’s always best to consult a professional.”
Conclusion
The “Check Wiring” message on your car radio can be a nuisance, but it’s often a solvable problem. By understanding the common causes and following the troubleshooting steps outlined in this article, you can often get your car stereo working again without much hassle. If the problem persists or if you’re unsure about any step, don’t hesitate to seek professional assistance. Remember to always double-check your wiring and prioritize safety when working with car electronics. A functioning car stereo contributes significantly to an enjoyable driving experience, so addressing the “Check Wiring” issue is well worth the effort.
FAQ
-
What does “Check Wiring” mean on my car radio? It indicates a problem with the electrical connections to your stereo.
-
Is it dangerous to drive with a “Check Wiring” message? It’s not inherently dangerous, but it’s best to address the issue to avoid potential further problems.
-
Can I fix the “Check Wiring” issue myself? If it’s a simple issue like a blown fuse or loose connection, you might be able to fix it yourself.
-
What if I replace the fuse and the message still appears? The problem might be more complex, and you should consult a professional.
-
How much does it typically cost to fix a “Check Wiring” issue? The cost varies depending on the cause and the labor involved. A simple fuse replacement is inexpensive, while a faulty head unit replacement can be more costly.
-
Can a car battery issue cause a “Check Wiring” message? While less common, a weak or failing battery can sometimes contribute to electrical problems that trigger the message.
-
What if I’ve recently installed a new car stereo and now see the “Check Wiring” message? Double check all connections, ensuring proper installation, specifically focusing on the wiring harness compatibility. If you’re dealing with a brake pad warning light, such as the mk4 golf brake pad warning light, it’s a separate issue and not related to the radio.


